

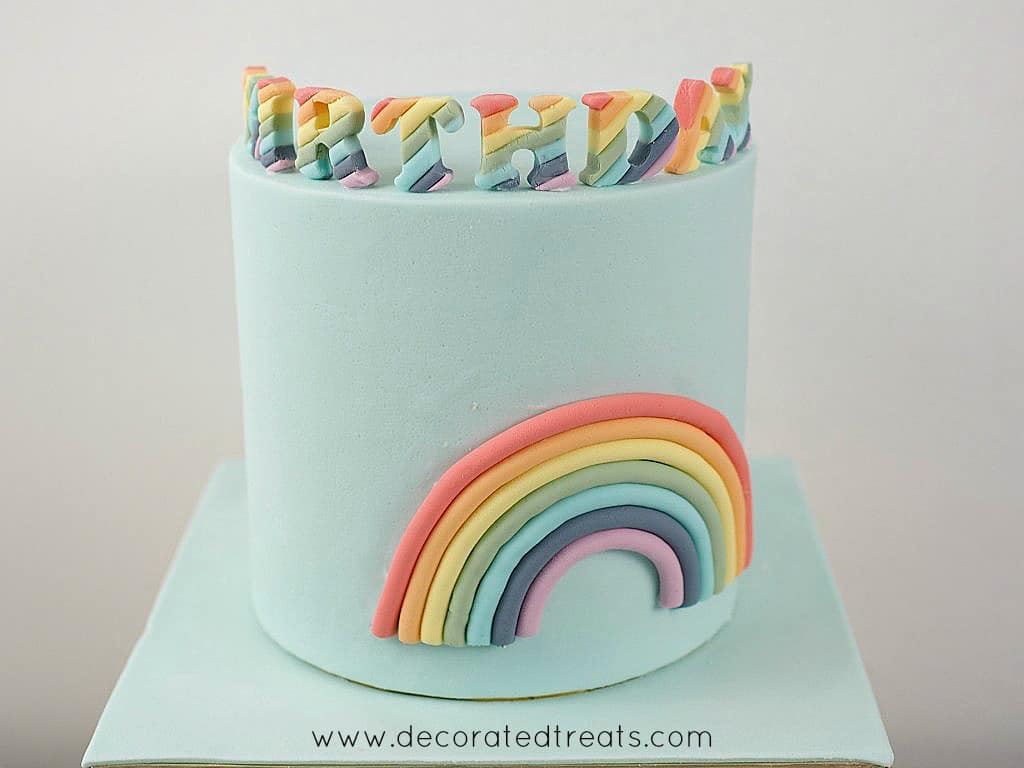
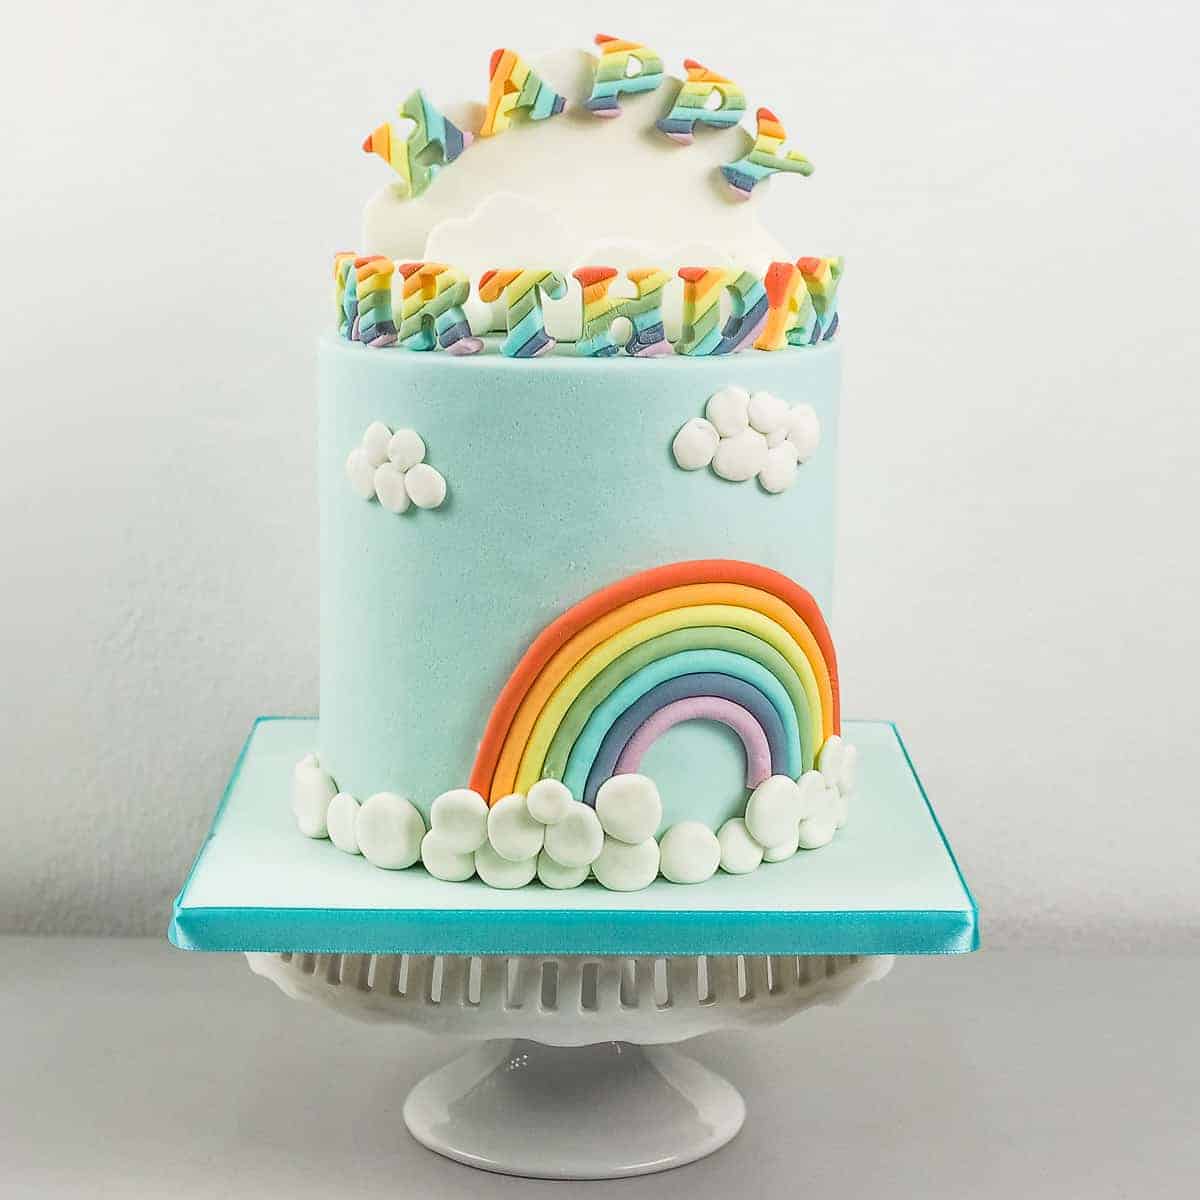
This rainbow cake makes a pretty birthday cake with a 2D fondant rainbow on the side and lots of fondant clouds at the base of the cake, the sides as well as on the top. And to add more rainbow colors to the birthday cake, the "HAPPY BIRTHDAY' letters are in rainbow colors too!

🧾Supplies Required
- Cake - This was a single tier cake, measuring 6 inches in diameter. The height of the cake was also 6 inches. Inside, the birthday cake consisted of 3 layers sandwiched with buttercream. I used my marble cake recipe for the cake. Since the recipe calculations on my recipe page were meant for cakes with a height of 4 inches, I multiplied the recipe by 1.5 times.
- Buttercream - I used buttercream to fill in between the 3 cake layers as well as to crumb coat the cake. My buttercream recipe can be found here.
- Fondant
- I used Satin Ice fondant in white and baby blue. The baby blue fondant was to cover the birthday cake, while the white was for the clouds. I also used fondant for the rainbow letters on the cake as well as the 2D rainbow on the side of the cake.
- Shortening and fondant glue - I used both these mediums as glue on the birthday cake.
- Satin ribbon
👩🍳How to Make
Step 1: Make the Rainbow Fondant Letters
I made these letters in advance to allow them sufficient time to set and harden. I have a separate tutorial with detailed step by step instructions on how to make the rainbow fondant letters. Here is the summary:

Mix the fondant into rainbow colors and use the extruder tool to pipe out long strips.
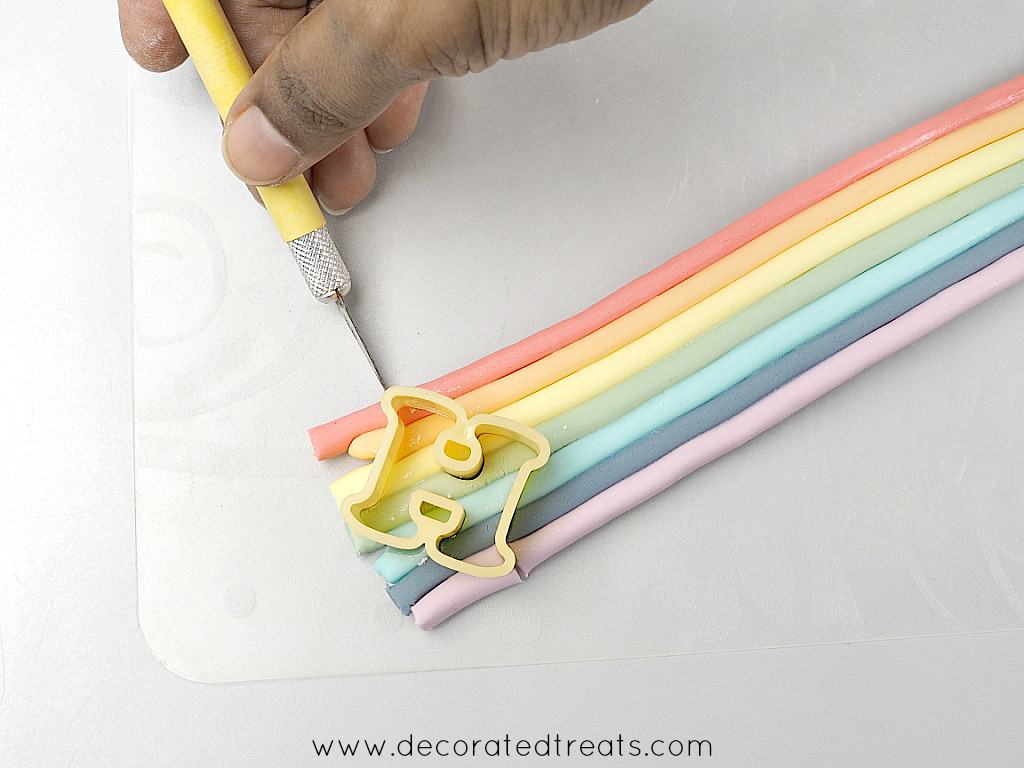
Arrange and attach the strips with glue. Cut the letters with the colors running diagonally for each letter.
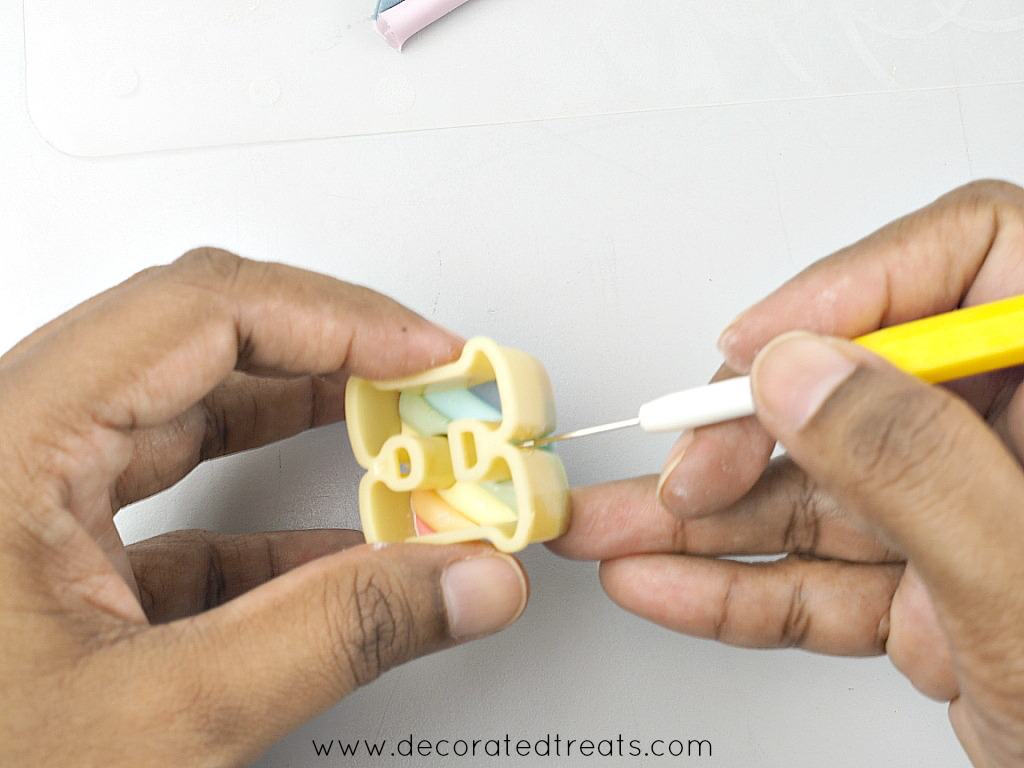
Remove the letters from the cutters. Use a needle to remove excess fondant on the sides.

Let the letters set completely in a horizontal position before using.
Step 2: Make the 3D Fondant Clouds
I also made these in advance as they are placed upright on the cake and need to set and harden before being placed on the cake. I have a detailed tutorials on how to make the 3D fondant clouds. Here is the summary:
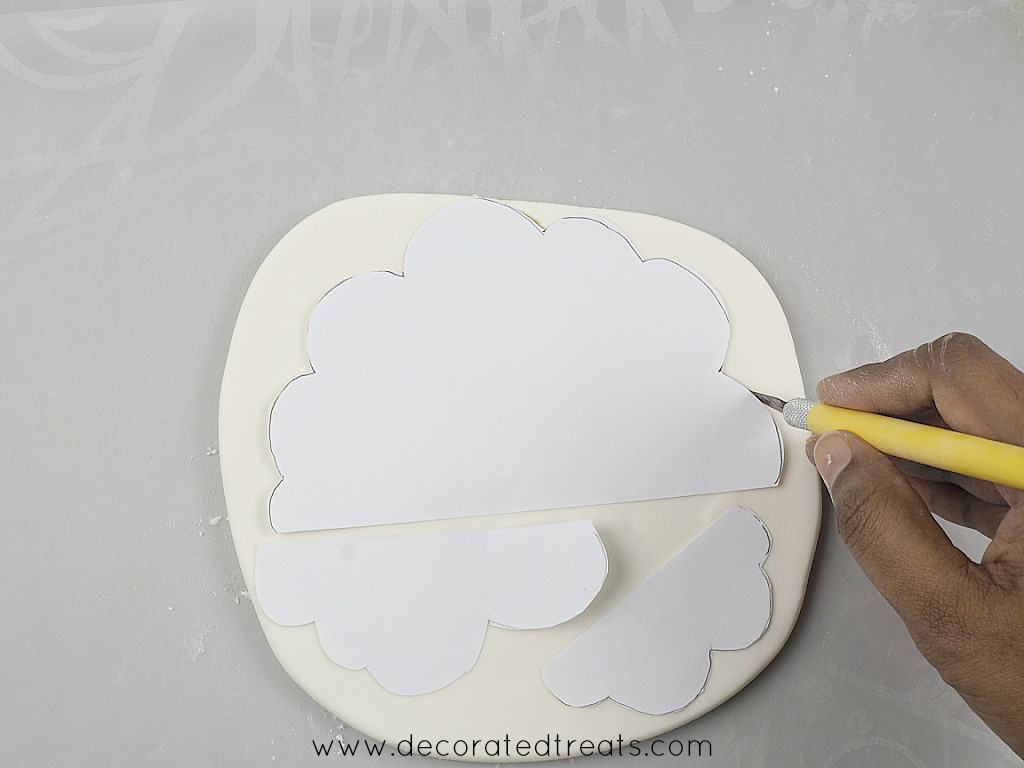
Roll some white fondant thick and use paper templates to cut the clouds out.
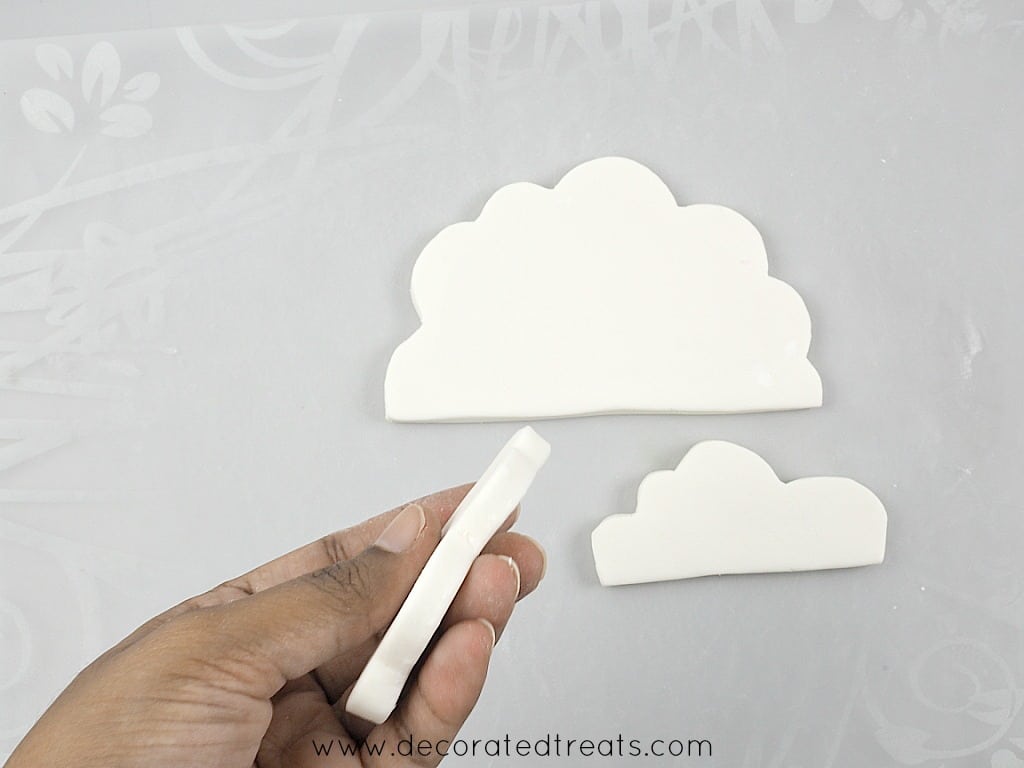
The clouds need to be thick so that they can stand upright on the cake. Let them set completely in a horizontal position before using.
Step 3: Bake and Cover the Cake with Fondant
Closer to the delivery day, I baked the cake, sandwiched the layers with buttercream, crumb coated, and covered it in Satin Ice Baby Blue fondant. I also covered the cake board in the same color.
Step 4: Make the Fondant Rainbow
Next, I attached the 2D rainbow on the side of the cake. I used the same colors as the rainbow letters and used my extruder tool to pipe out consistent-sized strips for the rainbow. Click here for a detailed tutorial on how to mix the rainbow colors and how to make the 2D fondant rainbow). Here is the summary:
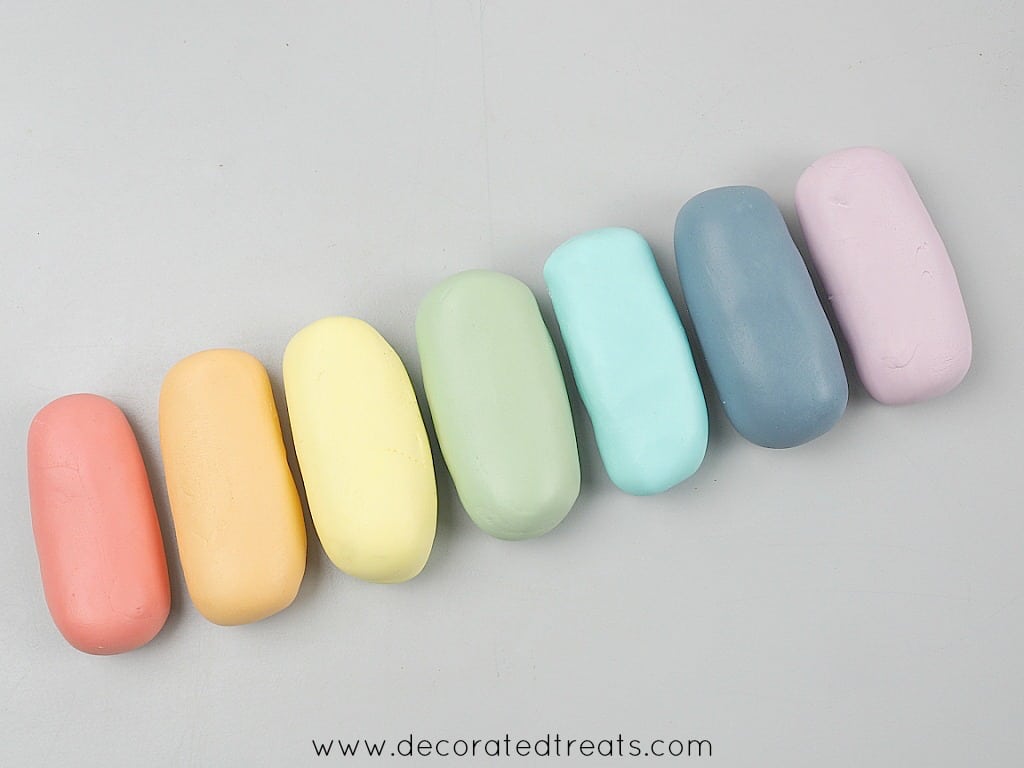
Mix fondant into the colors of the rainbow. Use the same colors as the alphabets in step 1 above.
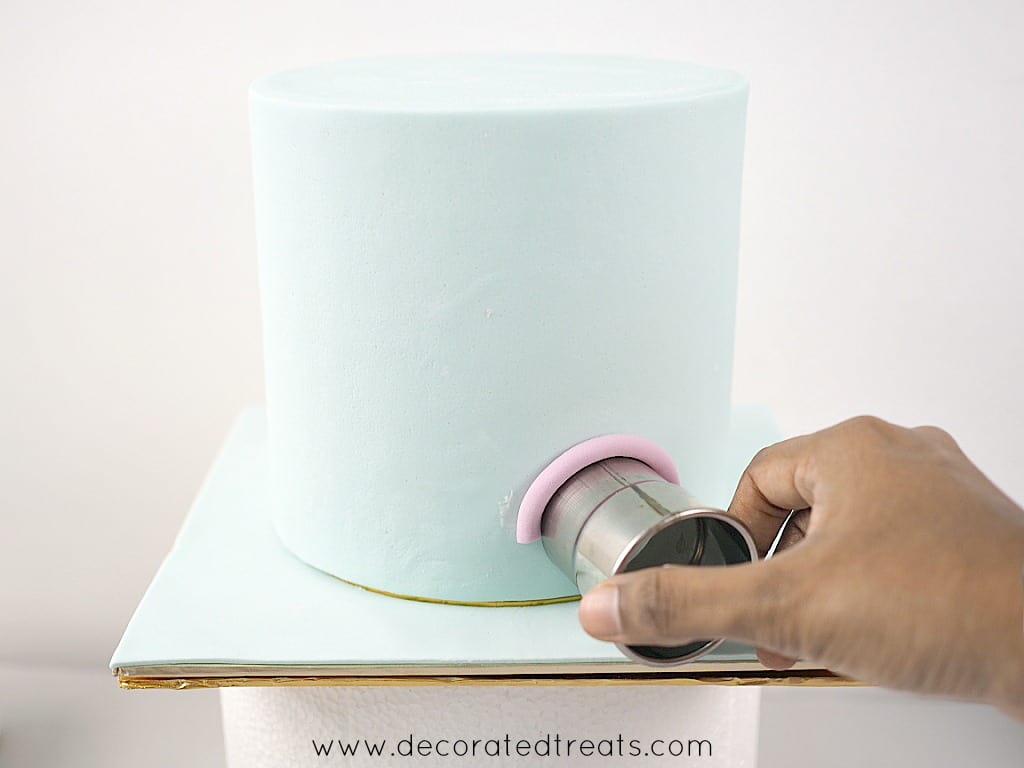
Pipe the fondant into strips with an extruder tool. Use a round cutter to guide the placement of the first color.
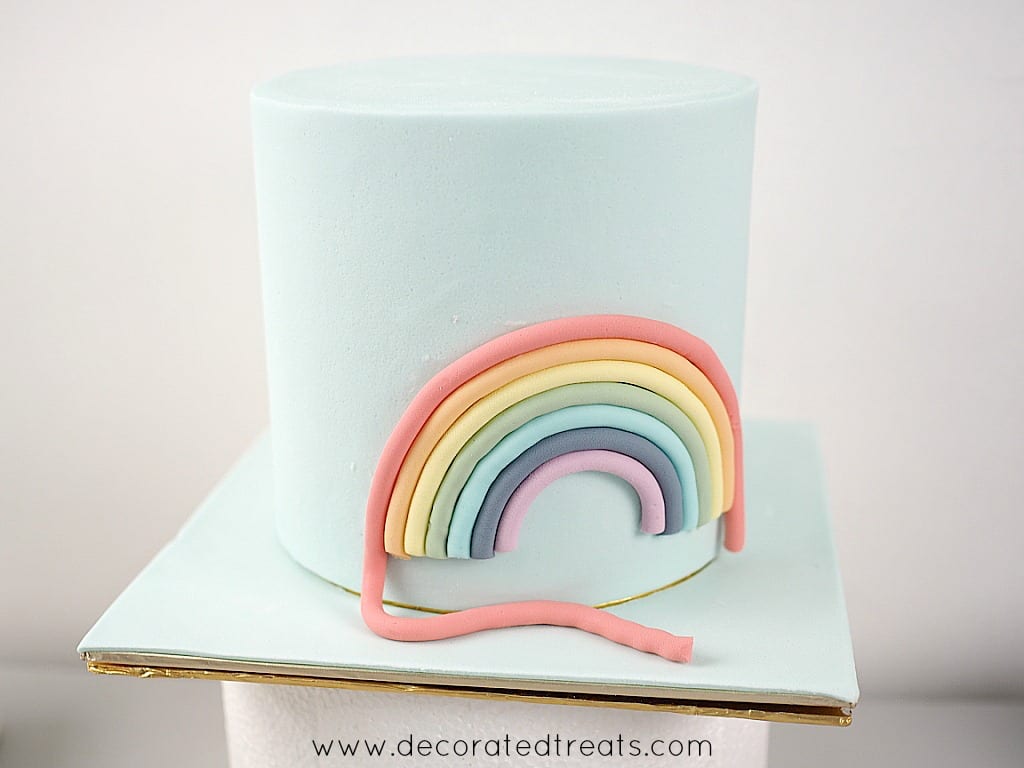
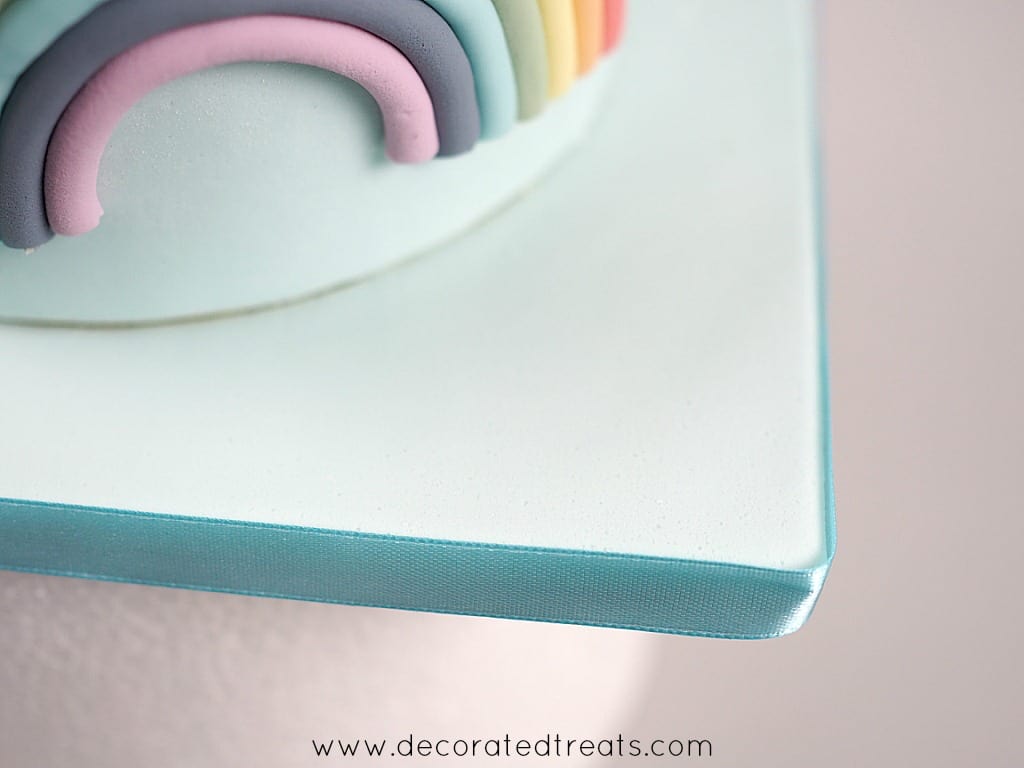
Glue the remaining colors to the cake and trim off excess fondant.
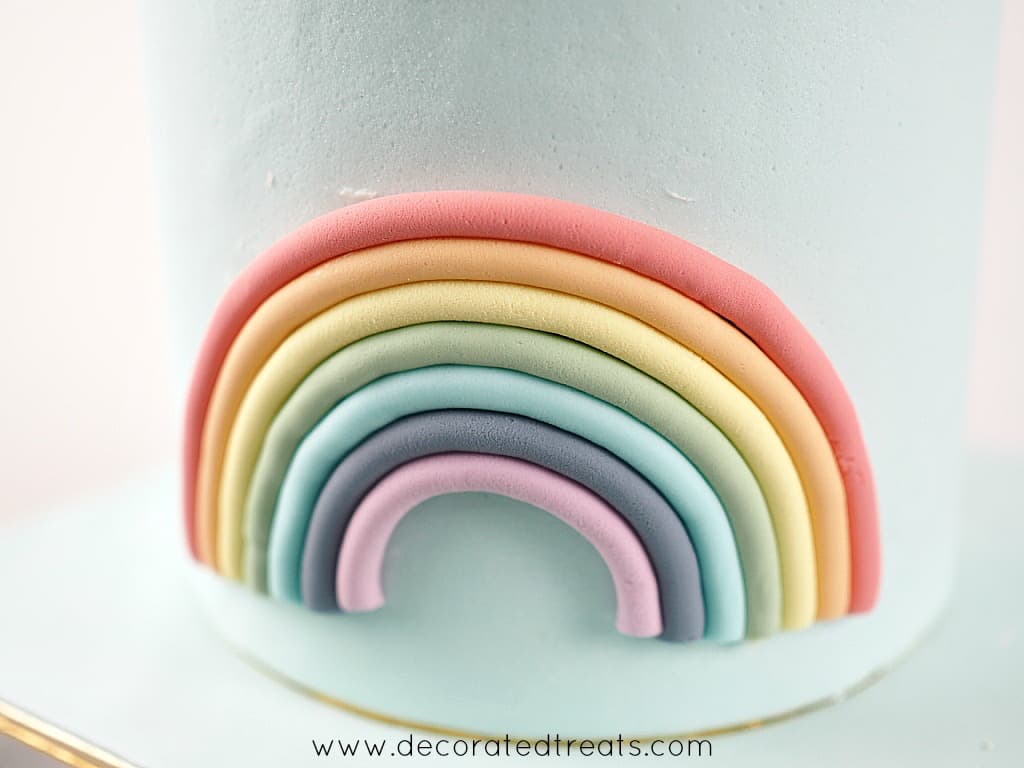
This is bow the completed rainbow should look like.
And then I wrapped a blue satin ribbon all around the cake board.
Step 5: Attach the Rainbow Letters to the Clouds
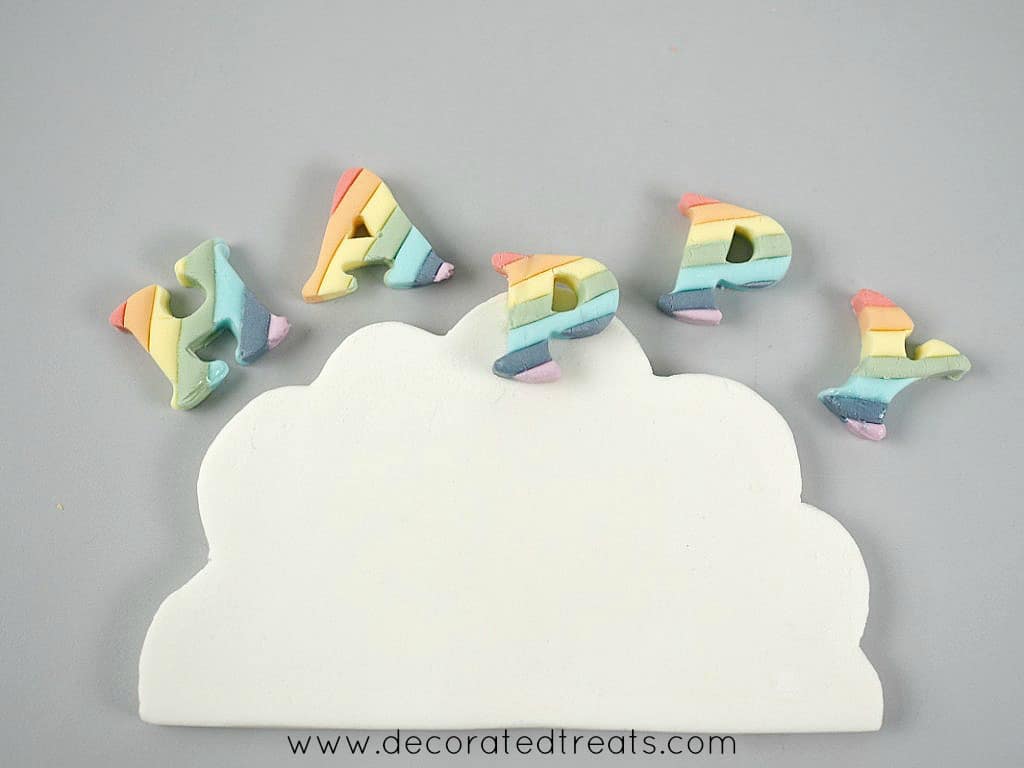
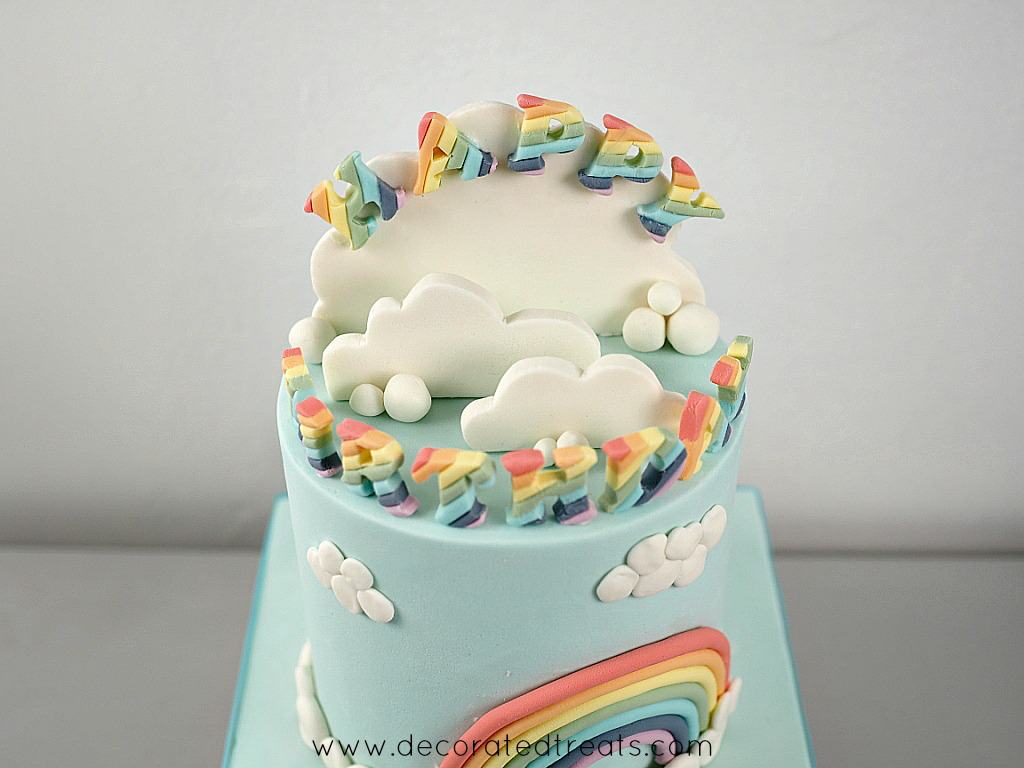
After the rainbow and the ribbon, I worked on the rainbow 'HAPPY BIRTHDAY' letters on the cake. The letters 'HAPPY' were positioned on the largest 3D cloud on the cake. The alphabets 'BIRTHDAY', on the other hand, were glued on the cake itself.
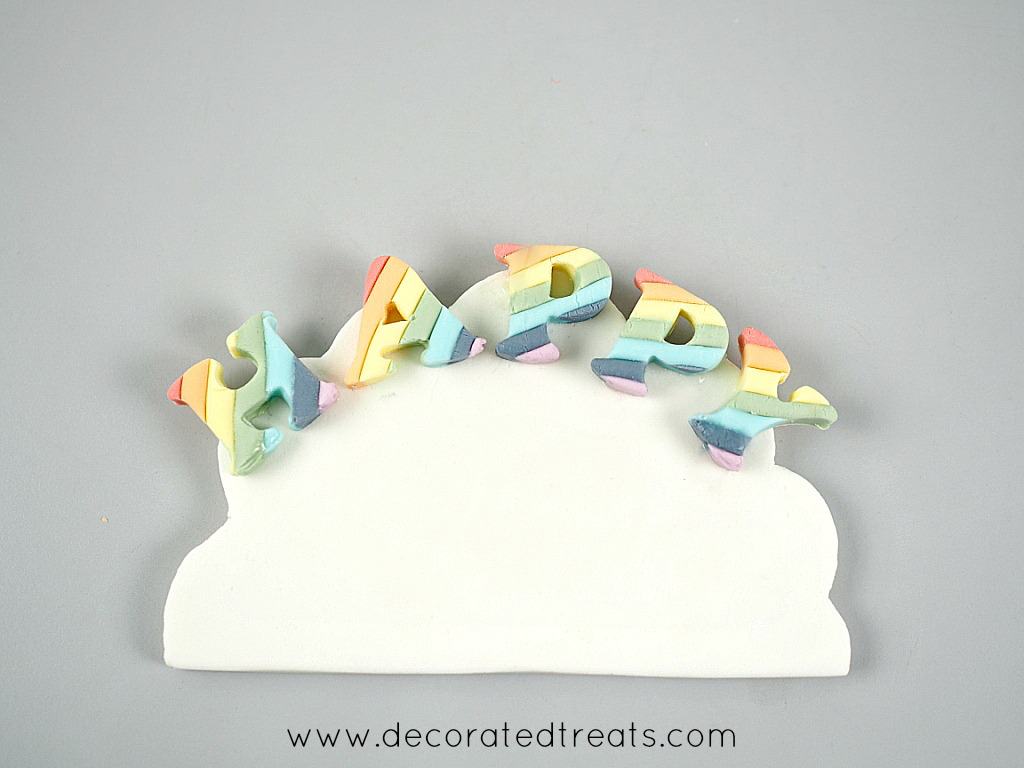
Before gluing the rainbow letters, I arranged them on the cloud and made sure they were centered.
Similarly for the word 'BIRTHDAY', to make sure they were perfectly centered, I arranged them in a lying down position as shown below. And then I adjusted the position until the letters were well centered.
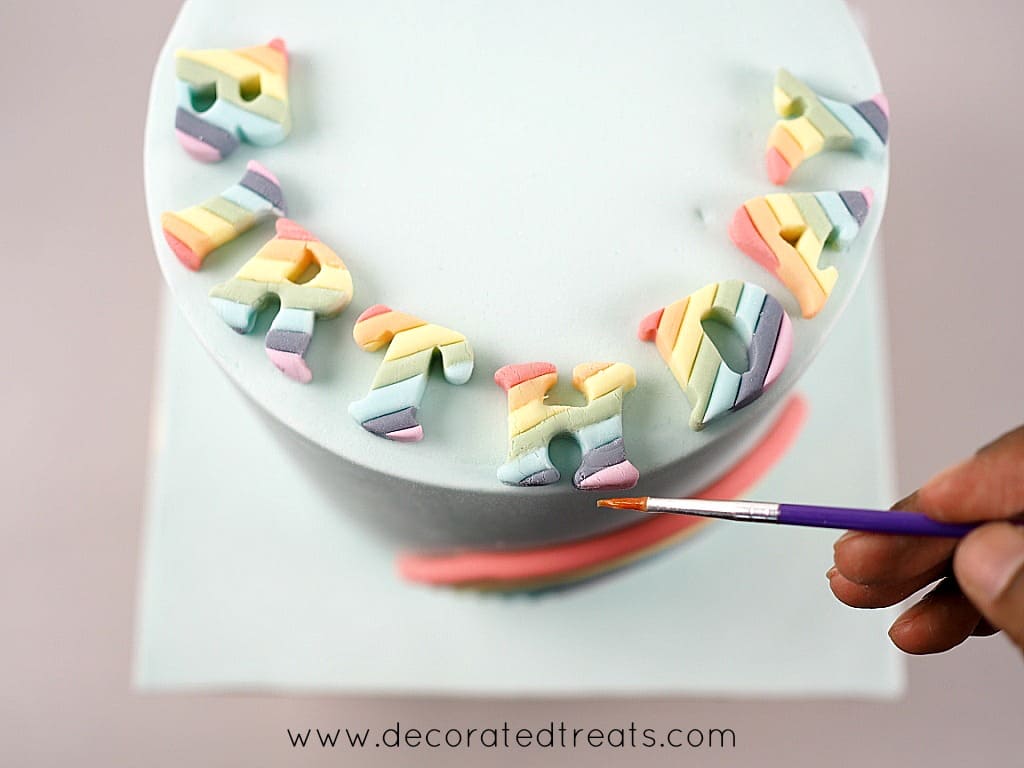
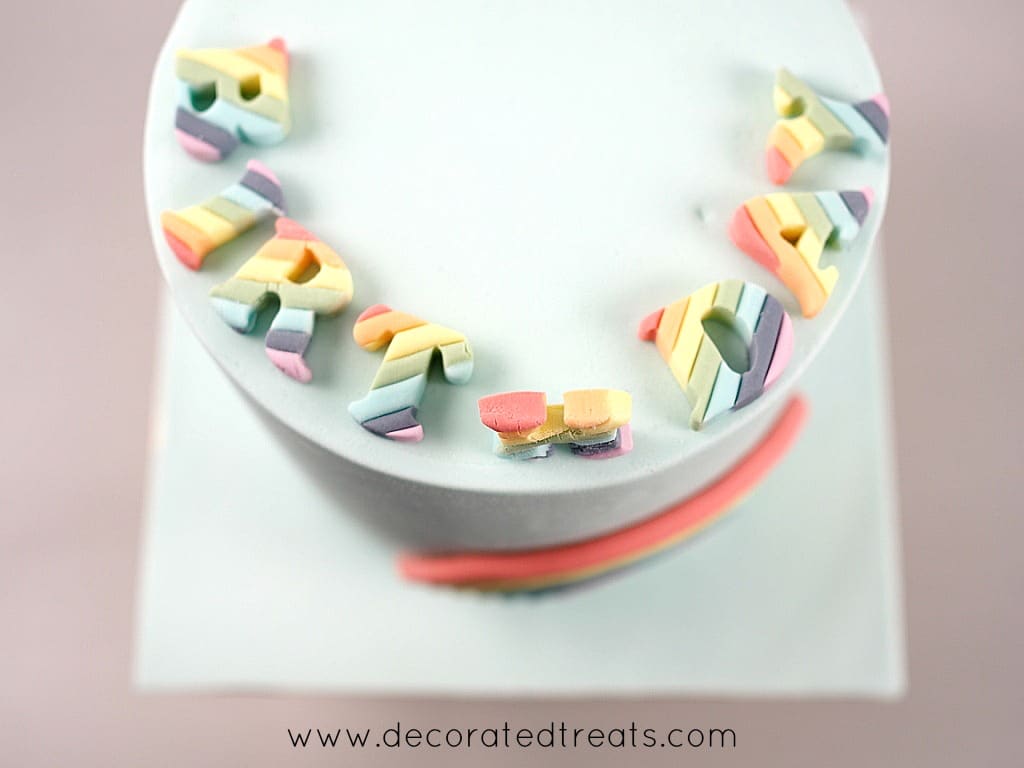
Only then did I glue them one by one, starting from the middle, with fondant glue.
Step 6: Add the 2D Fondant Clouds
Next were the clouds. I have a separate detailed tutorial on how to make these fondant clouds. Here is the summary:
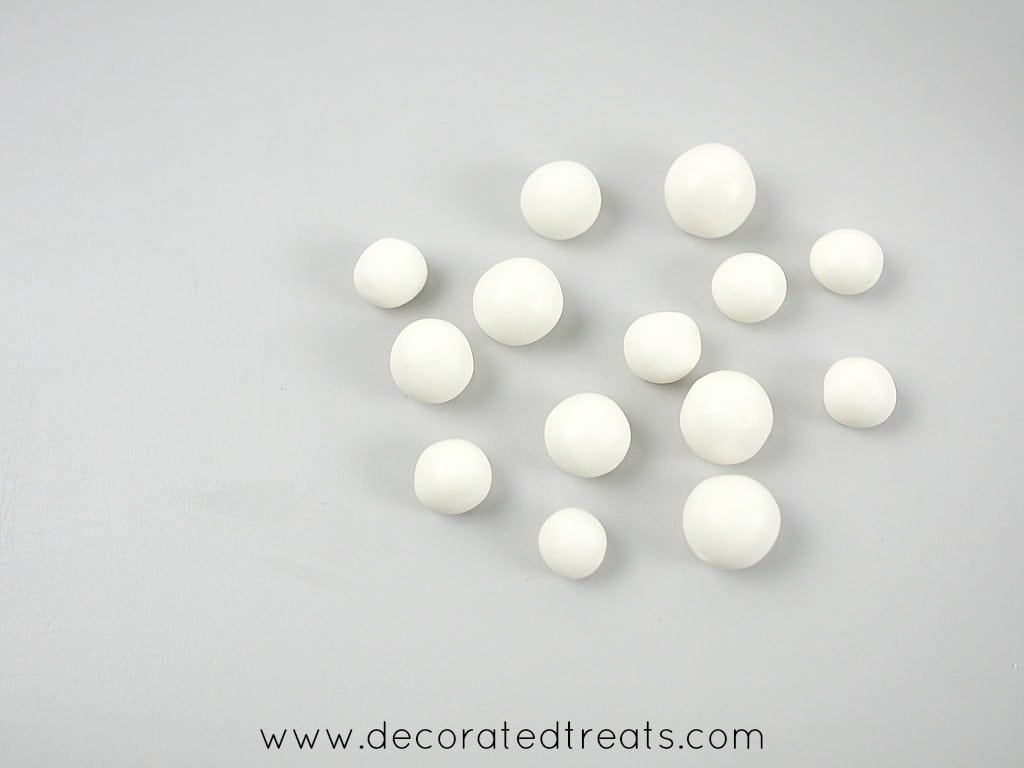
Pinch white fondant and shape in balls in random sizes.

Flatten the balls slightly and attach them to the cake, below the rainbow.

Overlap some of the balls to make clusters.
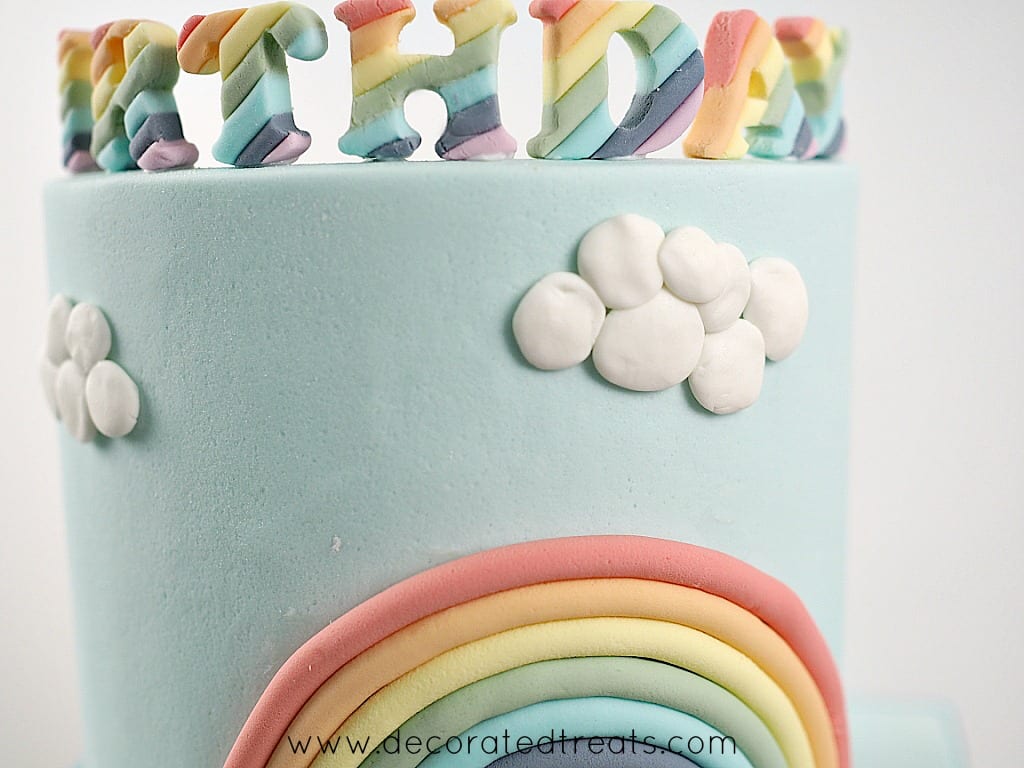
Repeat the same to make cloud clusters above the rainbow.
Step 7: Attach the 3D Cloud Toppers
And finally, the 3D clouds went on. I started with the largest one and attached it to the cake with some fondant glue.
Once dried, I accented them with clusters of fondant balls on the cake.
And that was it. My rainbow birthday cake.


Leave a Reply