

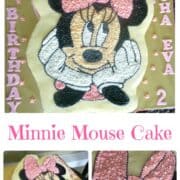
Looking for simple Minnie Mouse buttercream cake ideas? Here is an easy Minnie cake design you can make. This is a simple sheet cake, cut out to follow Minnie's face image and decorated in simple star buttercream piping.
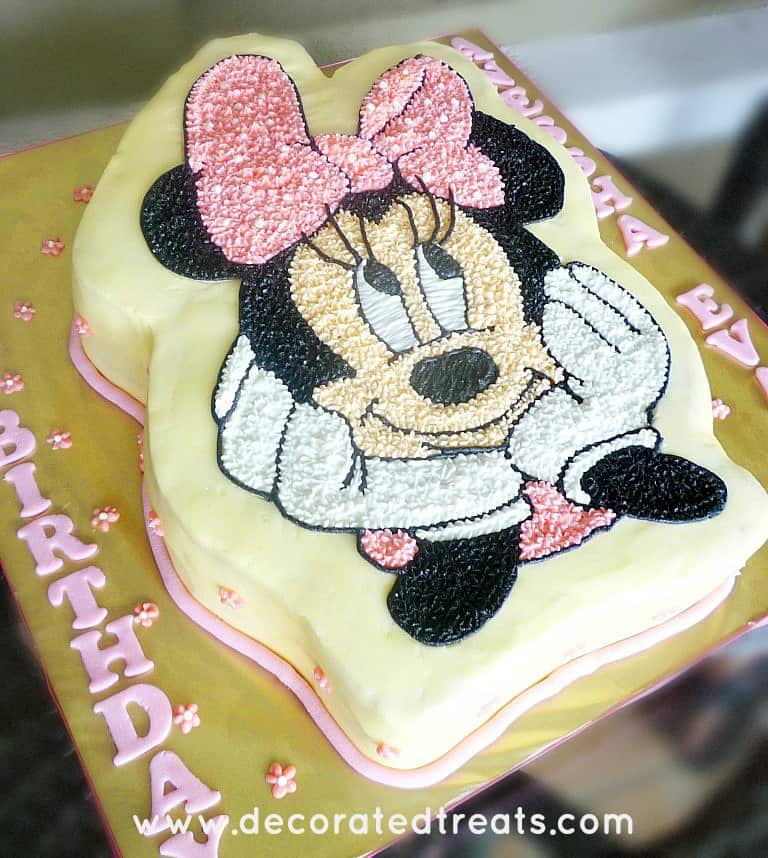
The thing about this buttercream cake is that it was not baked in a specialty mold or cake tin. In fact, it was cut out of a rectangle sheet cake. You can apply the same techniques I have used to decorate this cake to create any Minnie Mouse design or image you like. I chose a face image, but you can easily do a full image of Minnie.
I decorated this cake using an image transferring technique I have used very commonly for many of my cakes (see my Godzilla cake, Nissan GTR car birthday cake). And it works very well for me especially when I have to decorate sheet cakes in customized shapes and images.
For more Minnie and Mickey themed cakes, see this purple Minnie Mouse cake, Minnie Mouse 1st birthday cake, pink Minnie Mouse cake design, Mickey Mouse Clubhouse cake and two tier Minnie Mouse birthday cake.
🧾Supplies Required
- Cake – the cake was baked in two 6 inches by 10 inches rectangle cake tins and joined to make a larger cake. Alternatively, the cake can be baked in a 12 inches by 10 inches rectangle pan. I had to bake 2 cakes and stick them together to get a large enough cake since I did not not have a larger cake pan. I used my butter pound cake recipe.
- Buttercream – I used buttercream as a filling as well as to crumb coat the cake. I also used buttercream to pipe Minnie Mouse design on the cake. I tinted it pink, ivory, black, and white.
- Butter icing – I used butter icing to cover the sides of the cake as well as the rest of the cake area outside Minnie Mouse’s image.
- Fondant
- I used store-bought fondant and tinted it in pink for the cake border as well as the wordings on the cake.
- Piping tips and bags – I used Wilton tip 3

👩🍳How to Make
Step 1: Prepare the Minnie Mouse Face Template
I started with the image. It was provided by the birthday girl's mom in soft copy. All I did was resize it to the size I wanted it to be on the cake and printed it out.
After that, I traced it onto a parchment paper and cut it out along its outline. This is the template I used to carve and decorate the cake.
Next was the cake. I did not have a large rectangle pan that could fit the size of Minnie’s image. Hence, I baked two rectangle cakes, filled and joined them with buttercream to make a larger cake measuring 10 inches by 12 inches.
Step 2: Carve the Minnie Mouse Sheet Cake
I then placed the Minnie Mouse template on the cake and carved out Minnie’s image. In doing this, I left about an inch allowance from the outline of the image to the sides of the cake.
Once the carving was done, I removed all excess cake and lifted off the template. Next, was the crumb coat. I applied a thin layer of buttercream all over the cake and returned the template to the cake top again.
Using my sugarcraft knife, I marked the outlines of Minnie’s image, including her eyes, bow, hands, and others onto the cake. When marking the inner outlines, I literally cut through the template to leave the markings on the cake, so it's important that the knife used is sharp. The thin coating of buttercream helps to make the markings on the cake more obvious, so that makes it easier when it comes to the piping work later.
And by the time I completed all the markings on the cake, the Minnie Mouse template was already in pieces. I removed all the pieces and covered the sides of the cake with butter icing. The icing was not tinted; hence the natural ivory tint of butter was obvious.
Step 3: Pipe the Buttercream Image Onto the Cake
Once the sides of the Minnie Mouse buttercream cake were done, I moved on to complete Minnie Mouse buttercream design on the sheet cake.
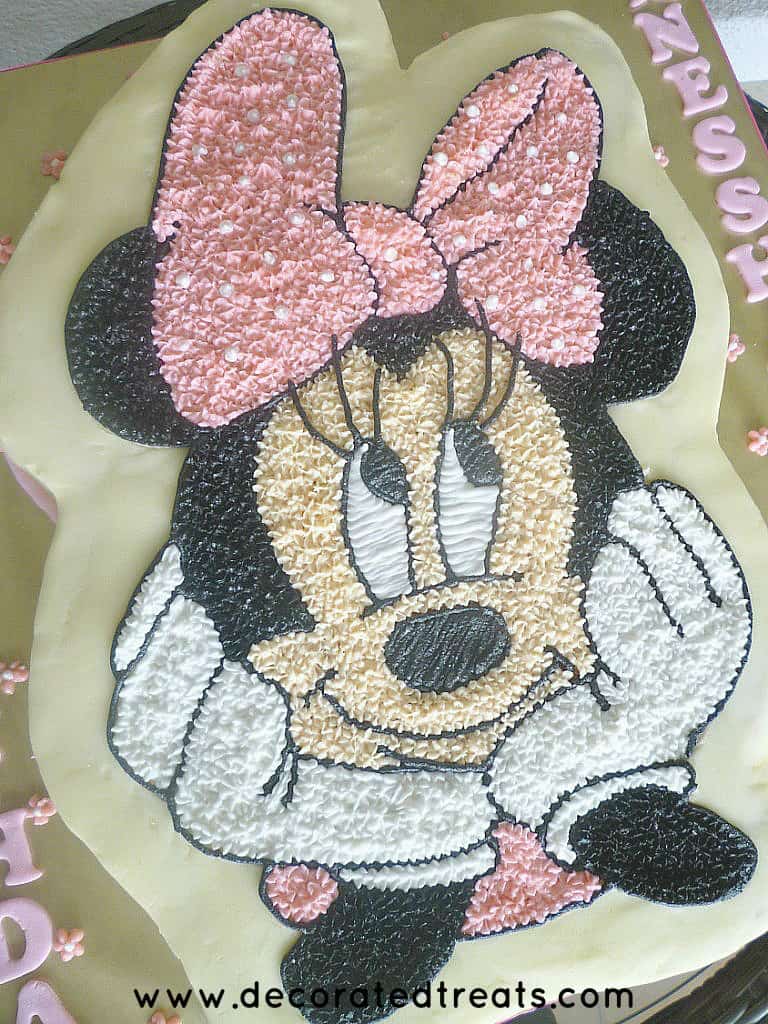
I started with black icing and icing tip #3 for the outlines.
And then, using tip #16, I covered Minnie Mouse image in buttercream starts, following its standard pink, white, ivory, and black colors. I used star piping tip #16 for most parts of Minnie Mouse except for her eyes and nose which were piped in buttercream using round tip #3.
Step 4: Decorate the Cake Board
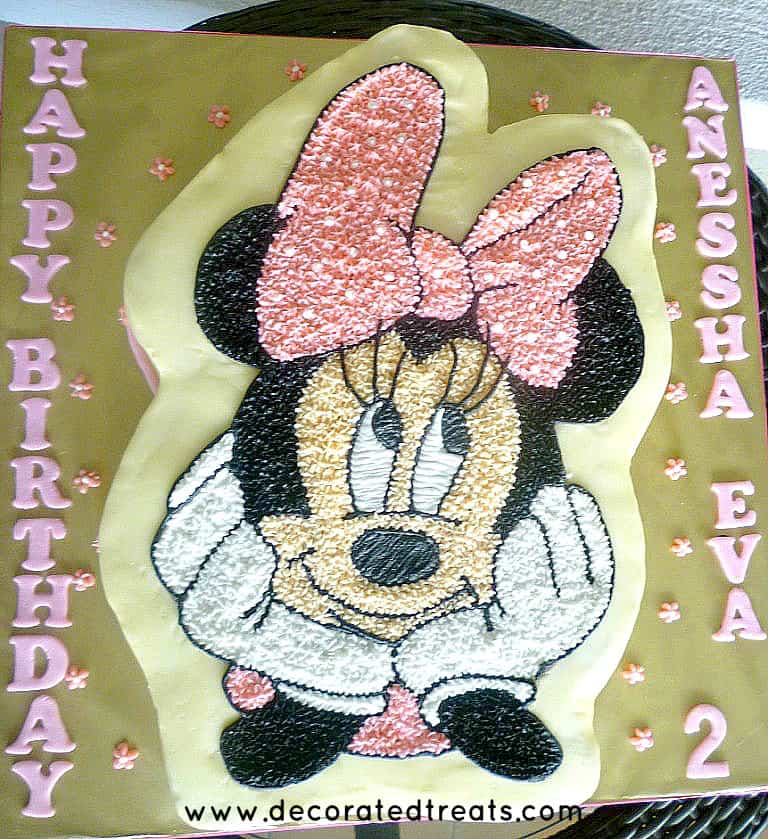
Once Minnie Mouse was completed. I cut out the ‘Happy Birthday” lettering in pink fondant, using alphabet cutters. And I rolled a long strip of the same pink tinted fondant for the cake border.
Finally, I piped random tiny pink flowers on the sides of the cake and on the cake board.
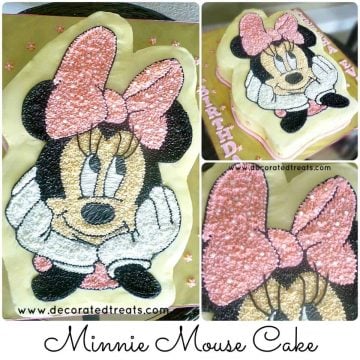
And that was how I decorated this Minnie Mouse buttercream cake.
❤️More Tutorials You Will Love


Do you like this tutorial? Please leave a 5-star ⭐⭐⭐⭐⭐rating in the recipe card below and consider a review further down this page. I would love to hear from you. Thank you!
📖Recipe
Minnie Mouse Buttercream Cake
Equipment
- Disposable piping bags
- Sugar craft knife
- Minnie Mouse template
- Alphabet cutters
- Piping tips #3 and #16
- Flower piping tip
- Palette knife
For best results, use the metrics measurements. US customary measurements have not been tested and are only meant for guide.
Ingredients
Cake
- 960 g butter
- 960 g granulated sugar
- 960 g self-raising flour
- 16 eggs
- 240 ml milk
- ⅔ teaspoon salt
- 2 teaspoon baking powder
- 2 ½ teaspoon vanilla extract
Frosting and Decoration
Instructions
Baking the cake
- Preheat oven to 170 °Celsius.
- Beat butter and sugar till soft and creamy for about 2 minutes. Add eggs, one at a time, beating well after each addition.
- In a separate bowl, sift flour, baking powder, and salt. Fold in the sifted ingredients into the creamed mixture alternately with milk, starting and ending with flour.
- Finally, add in vanilla extract and combine well. Pour batter into two greased and floured cake pans and bake for 45 to 50 minutes until the top of the cake springs back when lightly pressed. The cakes are done when a skewer inserted in the center of the cake comes out without any wet batter.
- Remove cakes from oven and let them cool completely before icing and decorating.
The Minnie Mouse cake decorating template
- Resize the image you want to use for your cake and print it out.
- Trace it onto a parchment paper and cut it out along its outline to make the template for the cake.
Preparing the cake
- Once the cake is baked and has cooled down completely, level the tops and fill with buttercream.
- If you are baking 2 smaller cakes and attaching them together to make a larger cake, attach them with some buttercream after leveling the tops.
Carving the Minnie Mouse sheet cake
- Place the Minnie Mouse template on the cake and carve out Minnie’s image. In doing this, leave about an inch allowance from the outline of the image to the sides of the cake.
- Once the carving is done, remove all excess cake and lift off the paper template. Apply a thin layer of buttercream all over the cake and return the template to the cake top again.
- Using the sugarcraft knife, mark the outlines of Minnie’s image, including her eyes, bow, hands, and others onto the cake. In marking the inner outlines, you will have to literally cut through the template to leave the markings on the cake, so it's important that the knife used is sharp. The thin coating of buttercream helps to make the markings on the cake more obvious, so that makes it easier when it comes to the piping work later.
- Once all the marking is done, the template would be in pieces. Remove all the paper pieces of the cake.
- Next, cover the sides of the cake and the background of the cake (outside of the Minnie Mouse image area) with untinted butter icing. Smooth it with a palette knife.
Piping the buttercream image onto the cake
- Once the sides of the Minnie Mouse cake are done, move to the Minnie Mouse buttercream design on the sheet cake.
- Start with black icing and icing tip #3 for the outlines.
- And then, using tip #16, cover Minnie Mouse image in buttercream in pink, white, ivory, and black colors. Use the star piping tip #16 for most parts of Minnie Mouse except for her eyes and nose which are to be piped in buttercream using round tip #3.
- Once Minnie Mouse piping is complete, cut out the ‘Happy Birthday” lettering in pink fondant, using alphabet cutters.
- Roll a long strip of the same pink tinted fondant for the cake border.
- Finally, pipe random tiny pink flowers on the sides of the cake and on the cake board.
Leave a Reply