

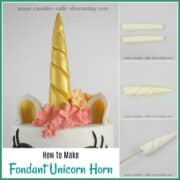
Learn how to make fondant unicorn horn for your unicorn cakes and cupcakes with this easy tutorial. No special cutters or molds are required and you can make the horns in any size you like. It's edible too!
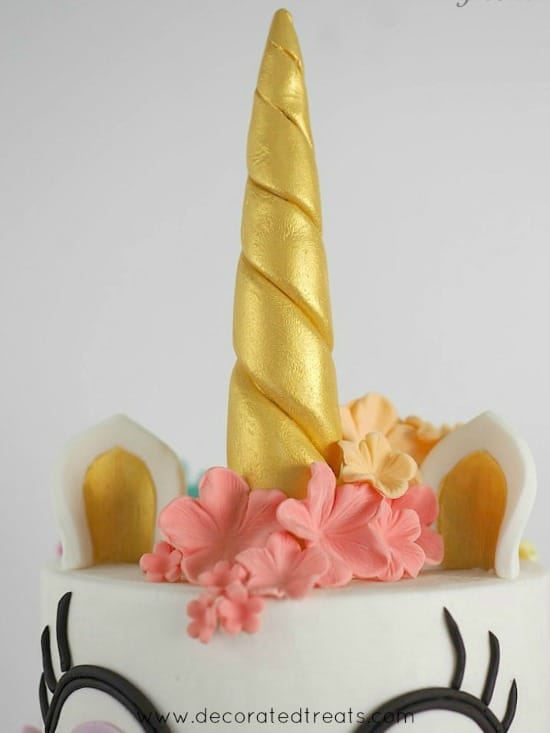
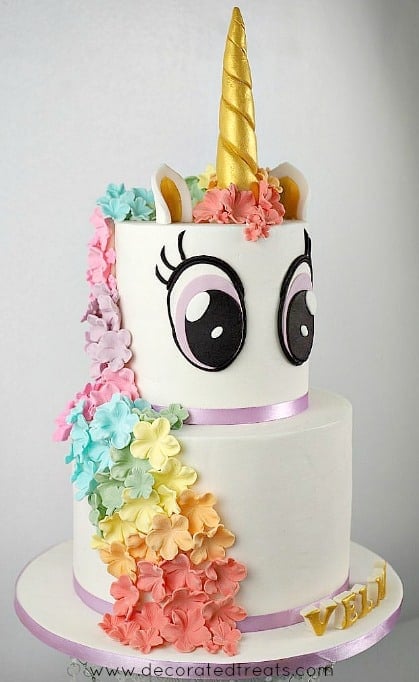
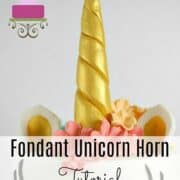
I made this fondant unicorn horn for a unicorn birthday cake . It was shaped by hand and painted in gold.
You can use this very same technique for cupcakes and even cookies. All you need to do is scale down the size of the unicorn horn to match your cupcakes or cookies.
Frankly speaking, making the unicorn horn is a very straight forward technique. It does not require any special tools or cutters. And of course, this is not the only method of making the horn. This was the technique I used and I am happy to write all about it here.
The horn I made here was painted in gold dust. I have also shared below how choosing the right colored fondant helps when working with gold paint.
If you like this tutorial, do also check out my other tutorials on how to make cute fondant eyes for the unicorn.
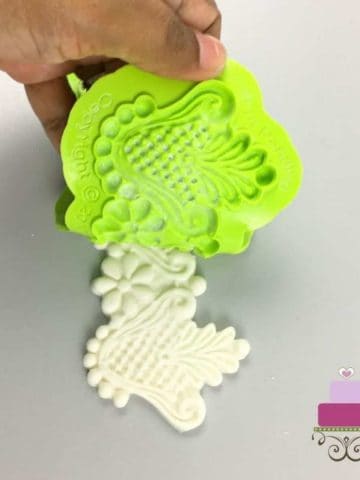
And for more fondant tutorials without cutters and molds, check out how to make cute puffed fondant hearts, gold fondant lace and these cute fondant clouds.
Jump to:
❤️Why you will love this tutorial
- This is an easy tutorial and it makes a very pretty fondant unicorn horn cake topper.
- You can use the techniques here to create horns in any size you like.
- No special tools or molds are required to make the horn.
🧾Supplies required
- Fondant - I used Satin Ice fondant in Ivory. You can also make your own fondant with this homemade fondant recipe or marshmallow fondant recipe.
- CMC powder - This is added to fondant to help it set hard and firm. It is highly recommended when making 3D fondant figures and decorations. Use approximately ¾ teaspoon CMC powder for this horn. CMC helps the fondant to set firm and is highly recommended when making 3D figures and decorations with fondant.
- Wood skewers - These are used to support the horn so that it remains straight and securely attached to the cake.
- Edible gold dust & lemon extract - Mix together to form a thick gold paint for the horn. You can also airbrush the fondant horn in gold or use edible gold sprays. All will give the same effect to the horn.
- Cake decorating brush - Use a food-grade brush. I used it to paint the gold dust onto the horn. This is not required if you choose to airbrush the horn or spray paint it.
- Needle scriber tool or toothpick.
👩🍳How to make
Step 1: Shape the fondant
Firstly, mix CMC powder into the fondant and knead well.
Note: When making gold fondant decorations, it is better to use ivory or yellow fondant as the base instead of white as these colors will bring out the gold color better. White fondant would require extra coats of paint as it is a contrast color to gold.
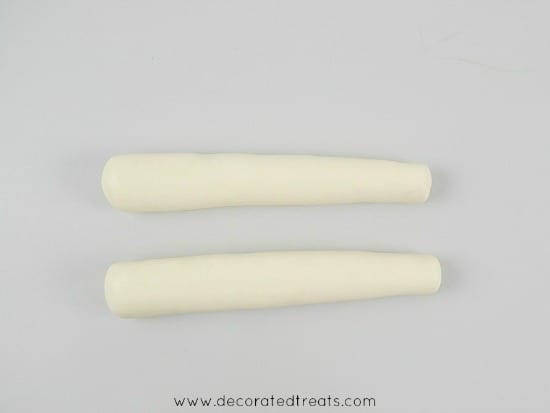
Next, divide the fondant into 2 and shape them into sausages, with one end of each of the sausages narrower than the other.

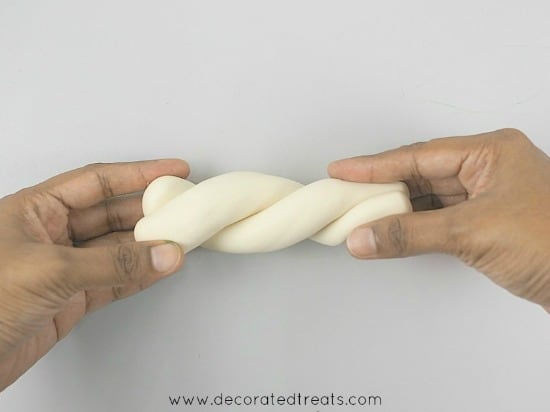
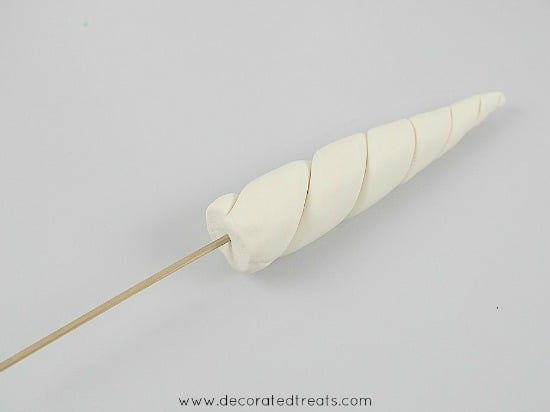
Put the two rolls together and gently twist them with both hands as shown below:
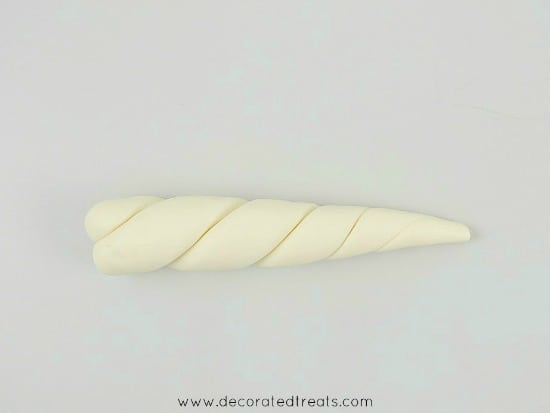
Roll the twisted fondant on a clean workspace to form a sharp pointy end on one side. Let the other end remain wide and flat.

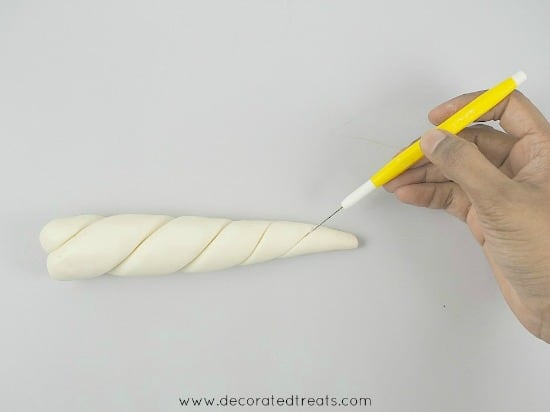
Step 2: Enhance the lines on the horn
If the twisted lines have faded from all the rolling (especially at the pointy end), use the needle scriber tool or a toothpick to enhance the lines so that they become a bit more obvious.
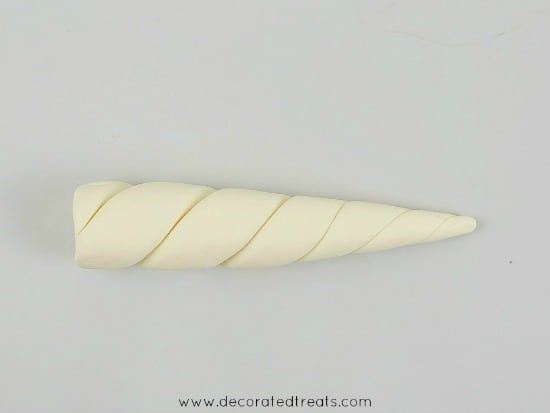
And this is how the horn should look like after all the rolling and shaping are done.
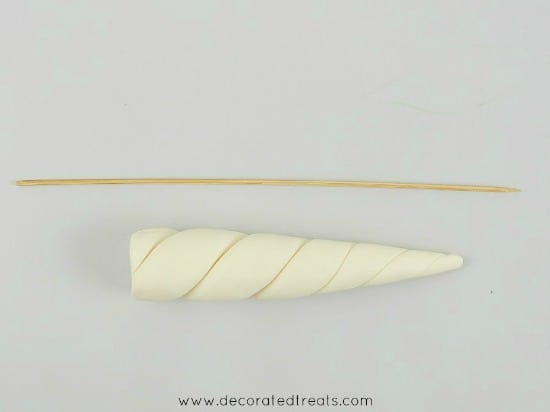
Step 3: Attach the skewer
Next, is inserting the skewer stick into the unicorn horn for support. Use a sufficiently long skewer to not only fit into the horn but also to be inserted into the cake.
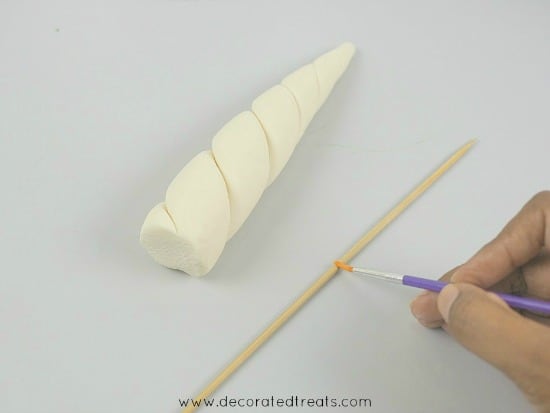
Apply fondant glue to the stick and carefully insert it into the fondant horn. When inserting the stick, it would be easier if you twist it into the fondant (as how you would a screw) rather than poking it in.
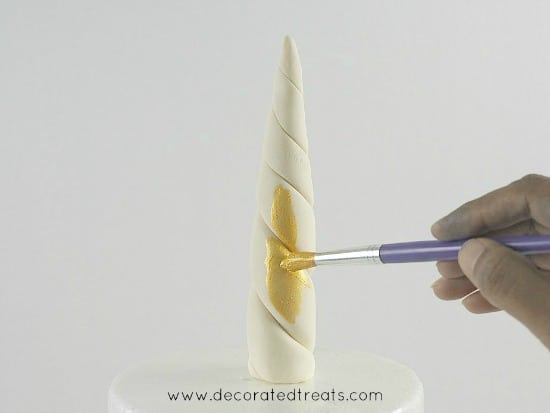
Step 4: Paint the horn
To paint the fondant, it is better to place it standing upright so that you get to cover all areas on it.
Poke the skewer into a styrofoam block. Use a styrofoam block that is thinner than the length of the stick. That way, it will be so much easier to remove the horn off the styrofoam after painting (you can just push the stick from the bottom of the styrofoam without having to hold the horn to pull it out, which can totally disfigure the horn).
And with the stick jutting out of below the styrofoam, it would be impossible to rest it on a flat surface, so you can use a tall drinking glass for support.
Do not cut the skewer to make it short as a longer stick provides better stability for the unicorn horn on the cake compared to a shorter one, especially since this is a fairly tall cake topper.

Mix the edible gold luster dust with some lemon extract to form a thick paint.
Note: Always add the extract in very small amounts when mixing the paint until the consistency is right. This is to prevent the paint from becoming too diluted.
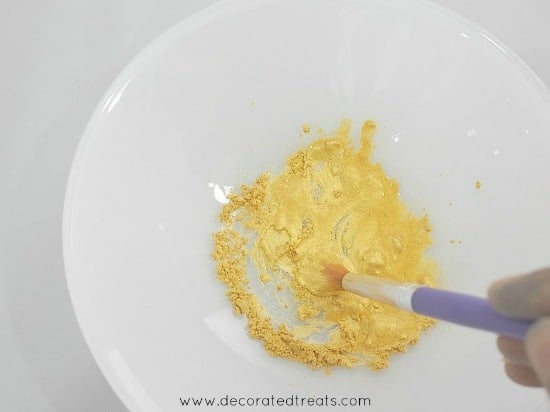
If the paint is too diluted, you will have to apply many coats of paint to get a well-toned gold. I applied two coats of gold paint on the unicorn horn.
Note: Use a wide tipped brush to paint so that you get to cover a larger area within a shorter period of time.
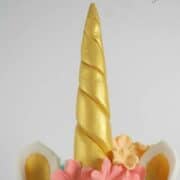
Once the painting is done, set the horn aside to allow the paint to dry before removing and placing it on the cake.
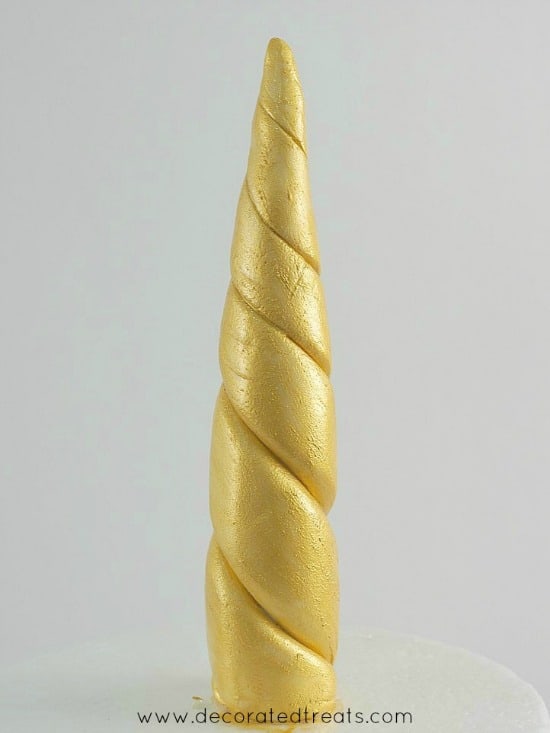
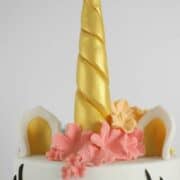
And this was how the fondant unicorn horn looked like when put on the unicorn cake.


Kim Cole
you mentioned you used 3/4 tsp of cmc powerder.. to what ratio of fondant was that ?
Priya
Hi Kim Cole,
The general guide is to use 1 tsp for every 250g or 300g of fondant. Slightly more or less is fine too. I sometimes add more if I want my fondant to set really firm. Hope this helps.