

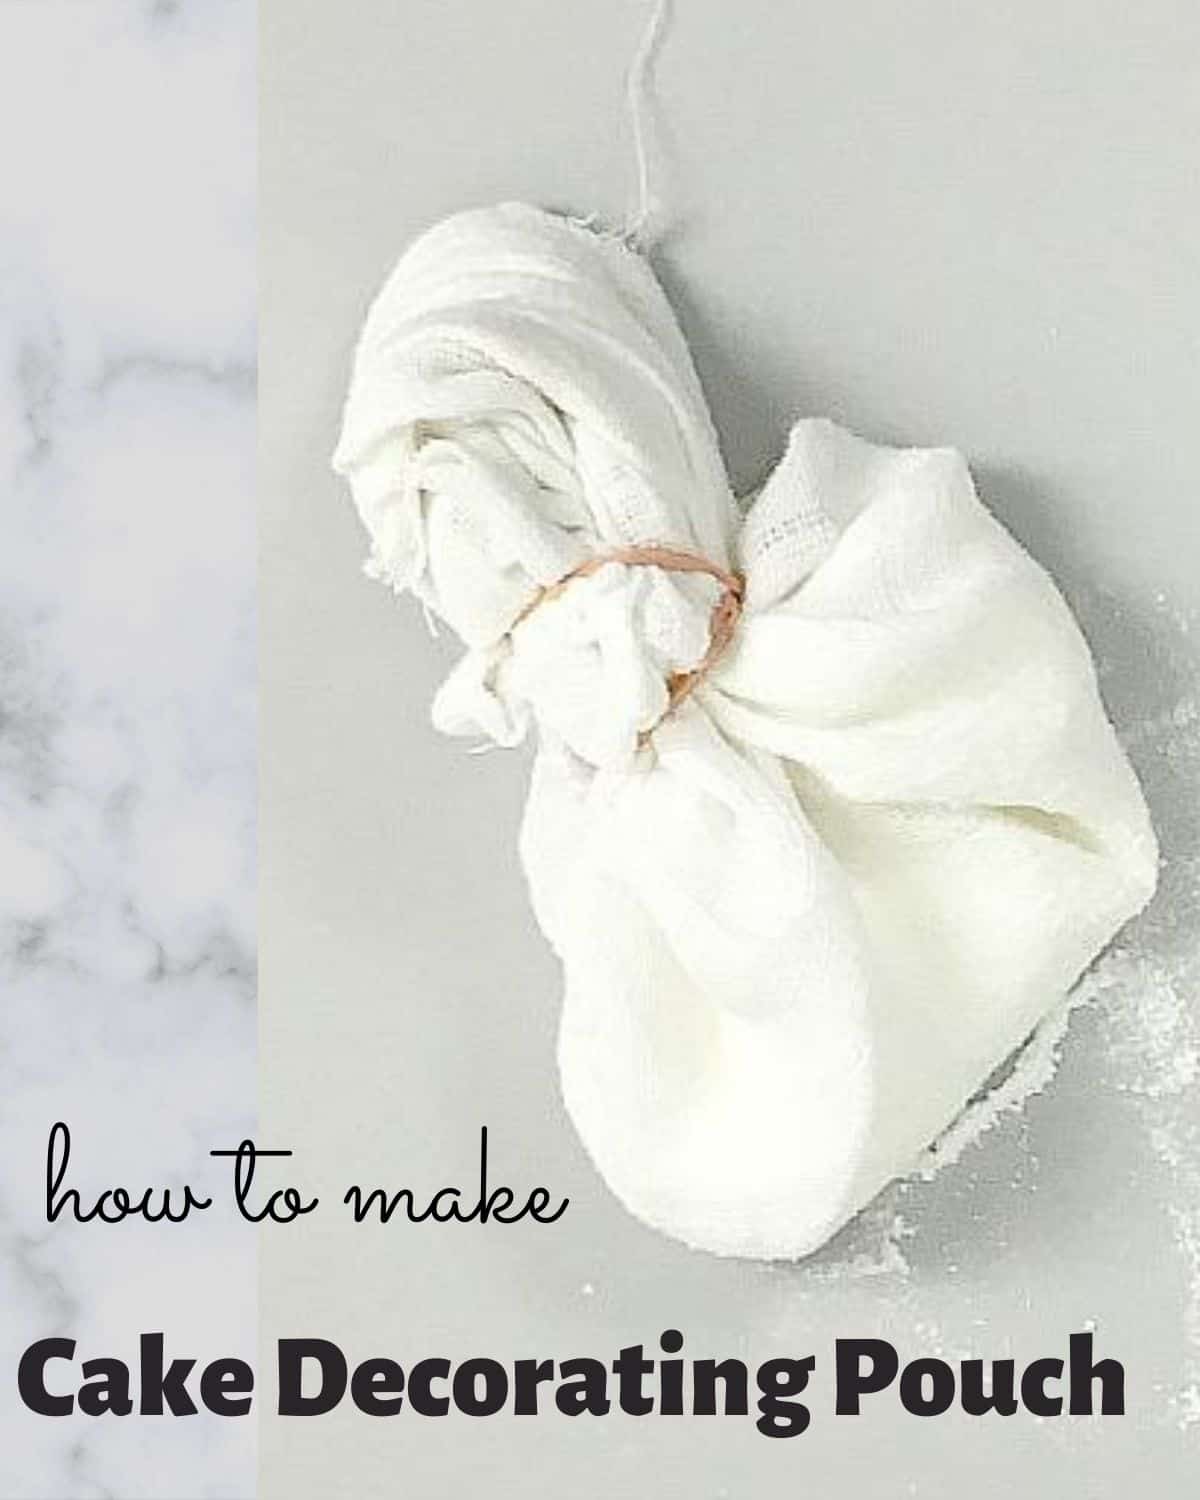
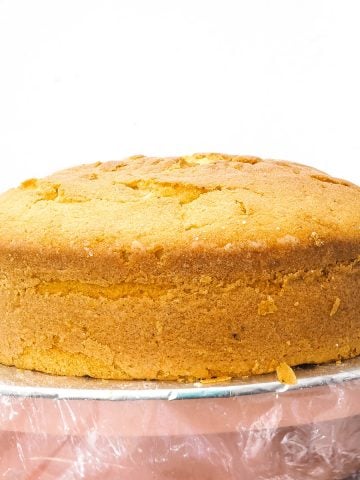
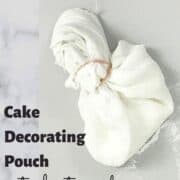
Fondant dusting pouch (also known as fondant dusting bag) is basic a dusting tool that is essential for all fondant work. Learn how to make your own pouch with just a piece of cloth and rubber bands in under 5 minutes with this easy tutorial.
Working with fondant requires dusting your workspace with powdered sugar so that the fondant does not stick when rolled.
While you can just pick up some powdered sugar with your fingers and dust your workspace, it will not give a consistent layer of sugar dust, resulting in the fondant sticking on spots where there is no dusting or thick blobs of sugar dust sticking to your fondant.
A dusting pouch will help give you just a thin layer of powdered sugar dusting, perfect for rolling fondant.
If you want to know all other available dusting methods for fondant and gum paste work, read my post here on dusting tools and techniques for fondant and gum paste.
Jump to:
❤️Why you will love this tutorial
- It is cheaper to make your own pouch - there are a number of different tools available in the market for this purpose. It is worth investing in these tools if you are a seasoned cake decorator, but if you are not and do not wish to invest in one, this is a great idea for you.
- It is very easy to make, you can make it in under 5 minutes and you only need rubber bands and a piece of clean cloth.
- You can store and use this fondant dusting pouch repeatedly for your fondant projects.
- You can use the same technique to create a cornstarch dusting pouch for your gum paste projects like making gum paste flowers.
📋Supplies required
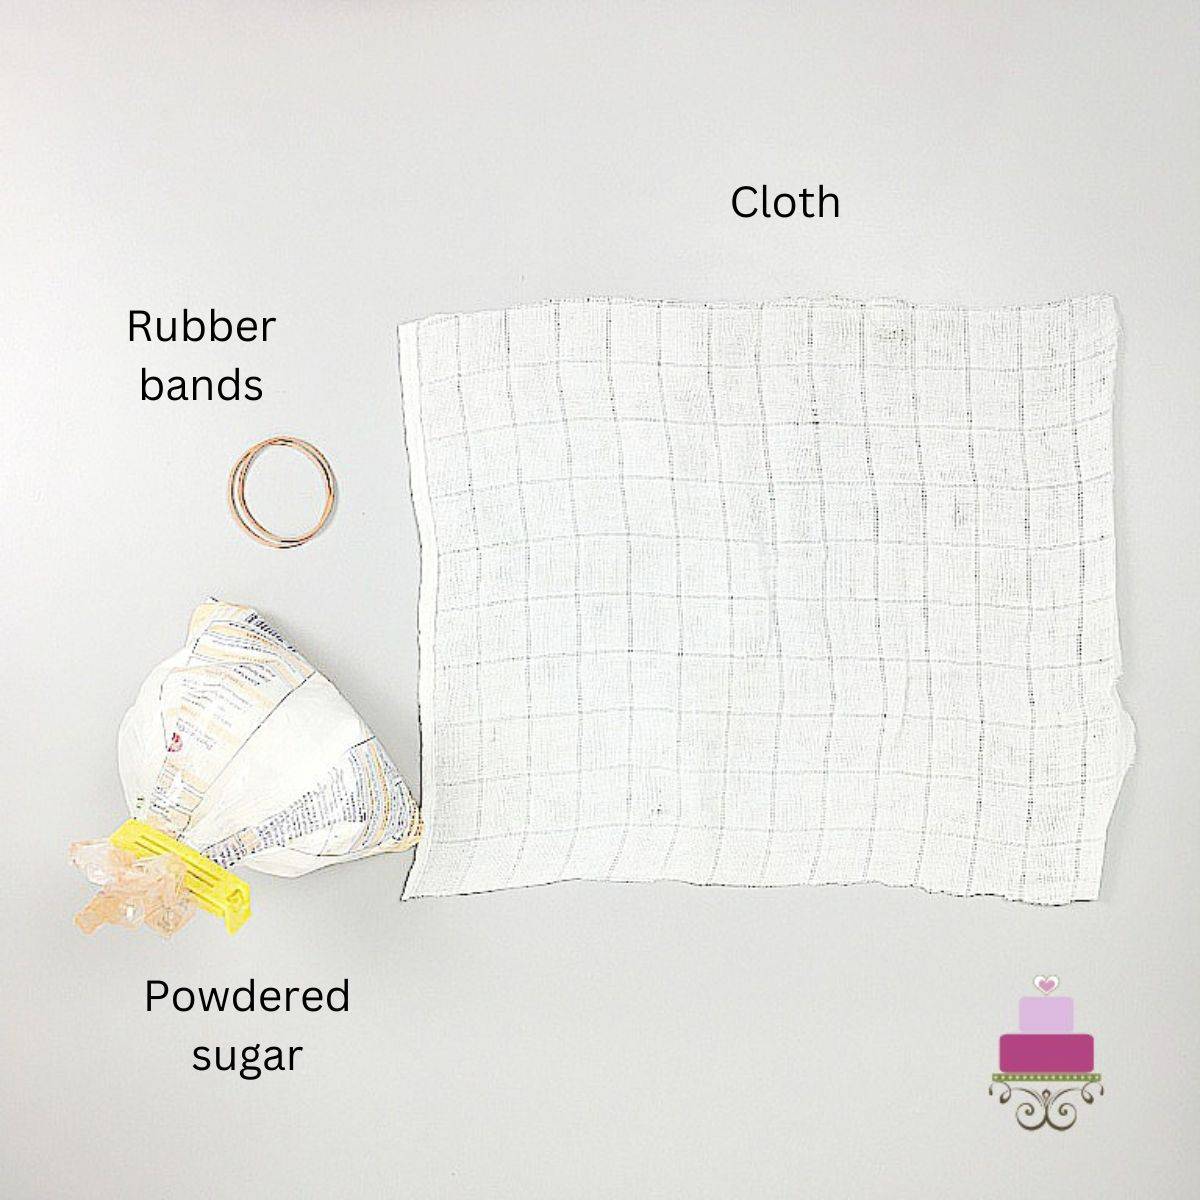
- A square piece of thin cloth (similar to a muslin cloth where the thread count is not too close). Organza material is fine too, and so is linen.
- Powdered sugar - for dusting
- Elastic bands or rubber bands - to tie the pouch together
- An empty container - to store the dusting pouch
✂️How to make
Step 1: Prepare the cloth. Cut the cloth into a square piece. I did not measure the length of the cloth I used here but anything between 20 cm to 25 cm square piece will do. Make sure the cloth is washed, clean and completely dry.
I used a muslin type cloth where the thread woven to make the cloth is not too close to one another. If you are not sure of the type of material to use, choose one that is thin and see-through. The idea is to make sure that the powdered sugar or cornstarch you put into the dusting pouch can fall through when lightly tapped on the work surface.
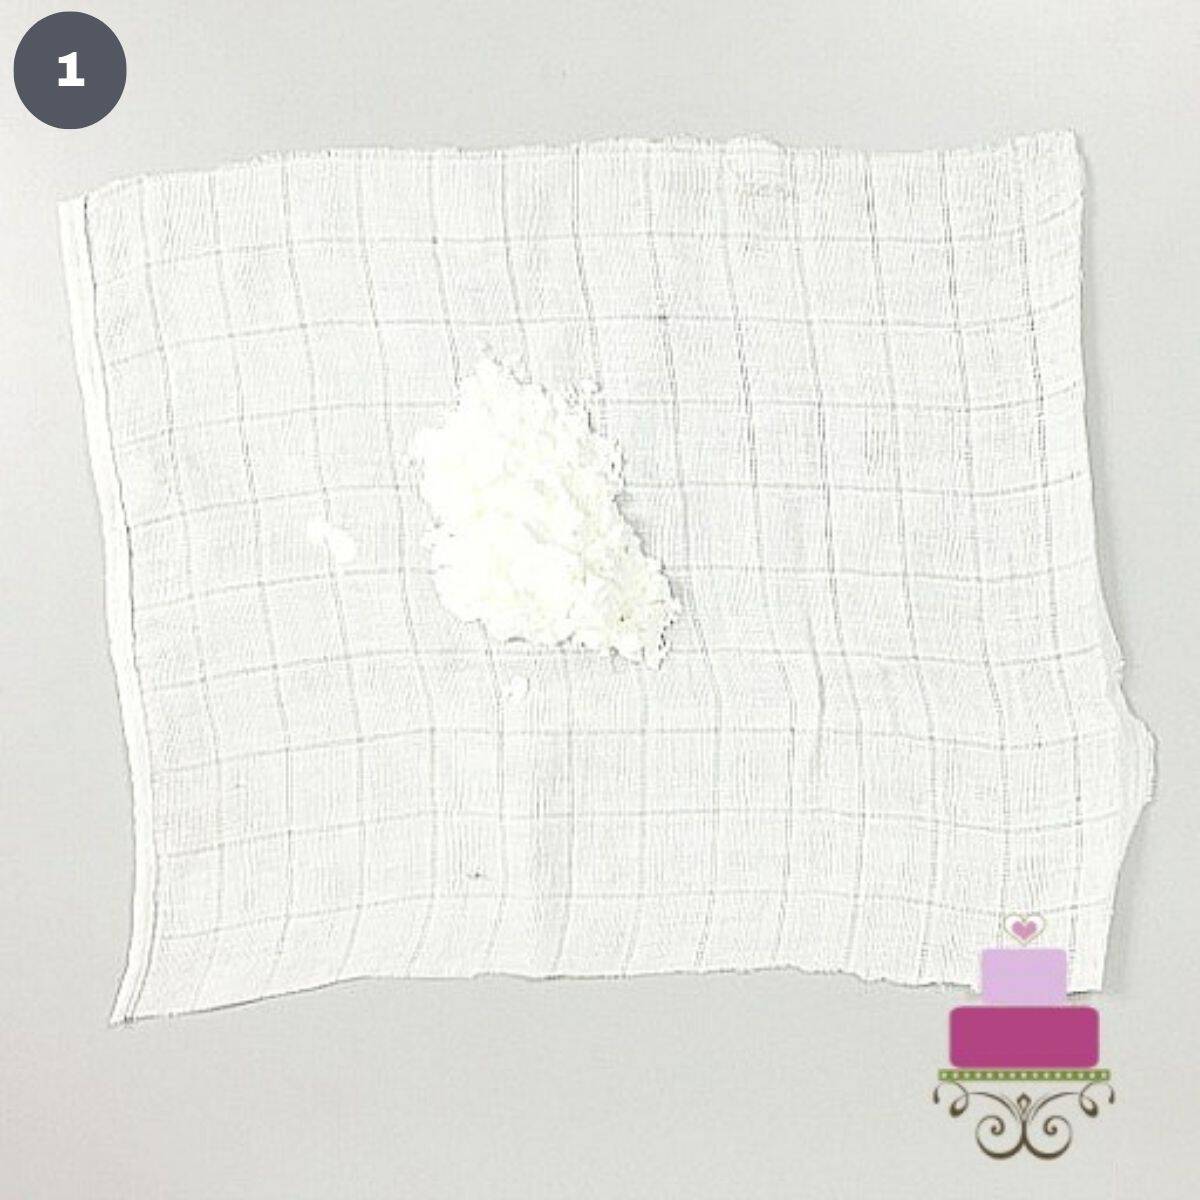
Step 2: Lay the cloth flat on your workspace. Place 2 tablespoons of powdered sugar in the center (image 1).
Note: Sift the sugar first if it is lumpy.
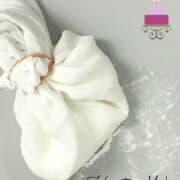
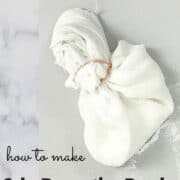
Step 3: Gather the sides of the cloth.
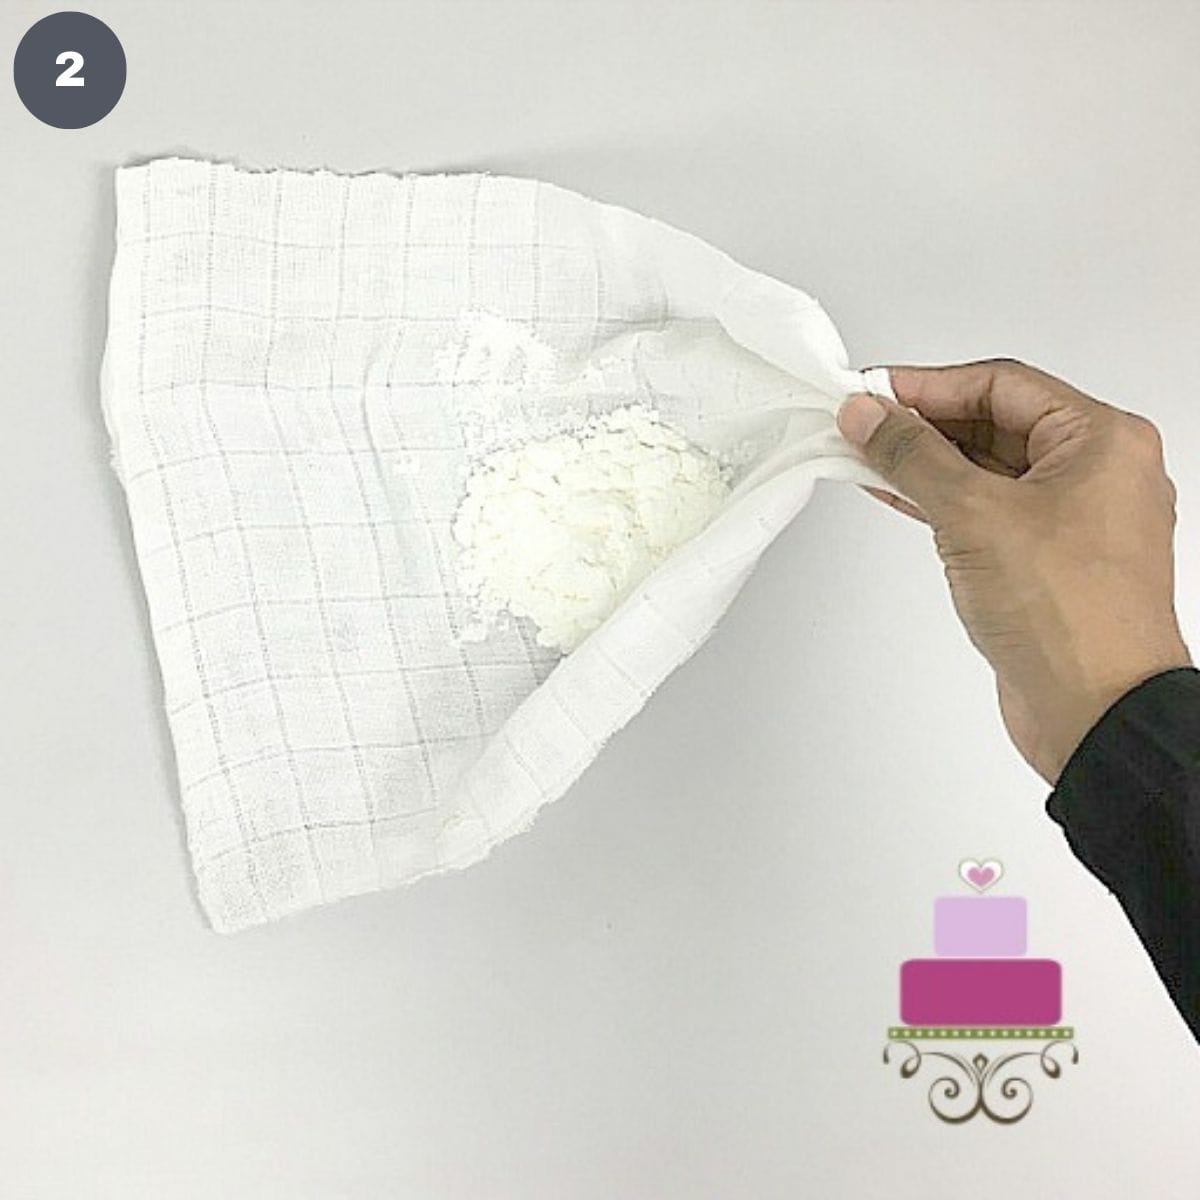
And then, slowly gather the sides and edges of the cloth, starting from one side (image 2).
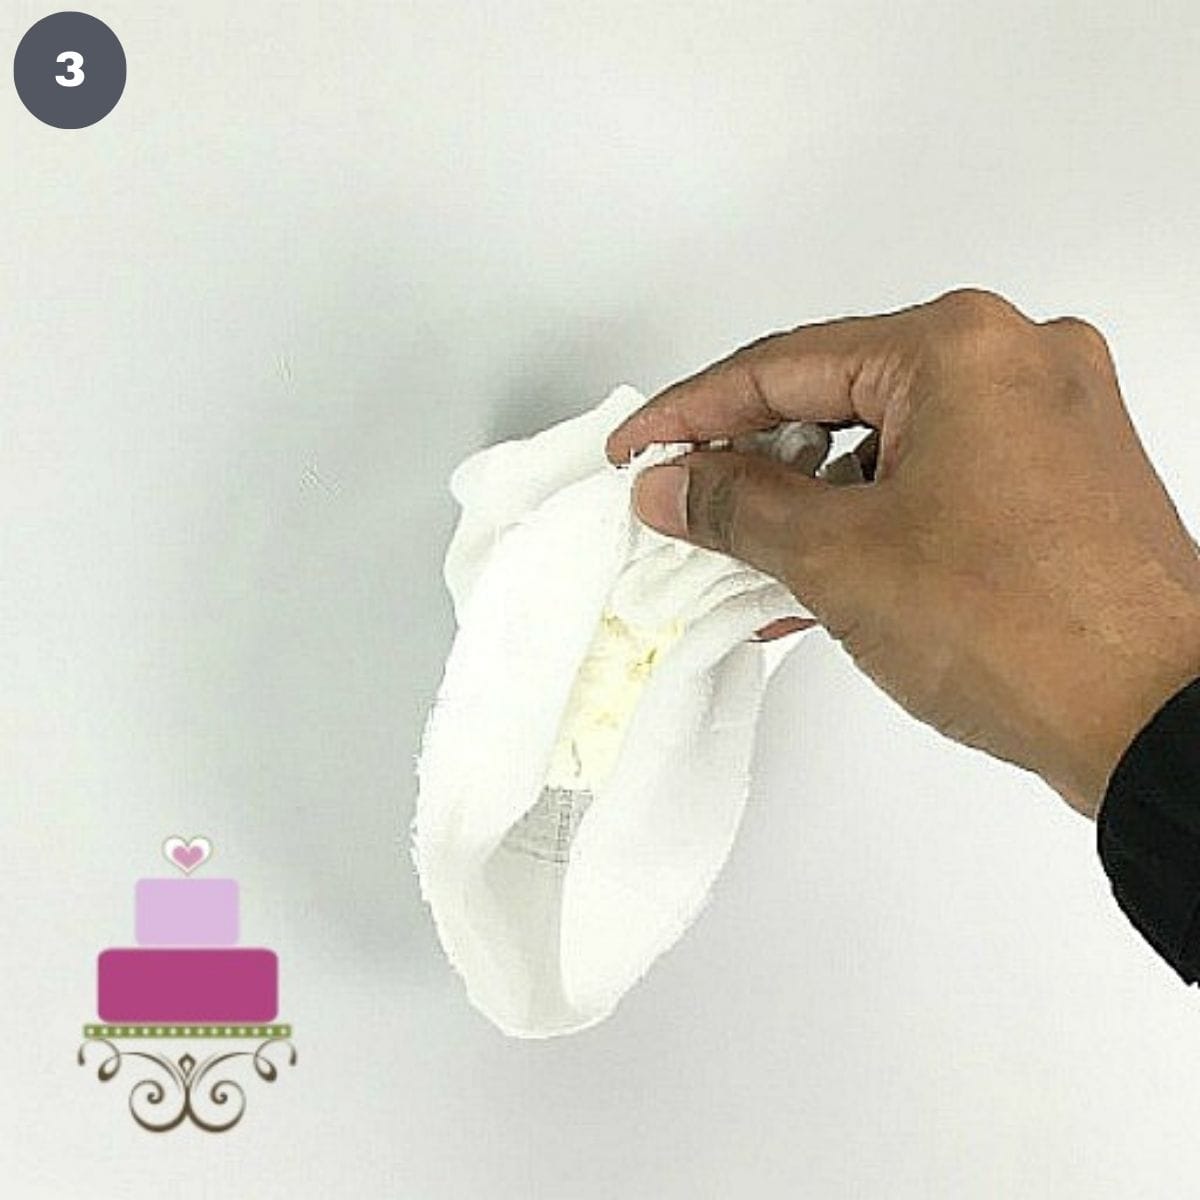
Continue gathering until all the sides and edges come together (image 3).
Step 4: Tie the pouch with the bands.
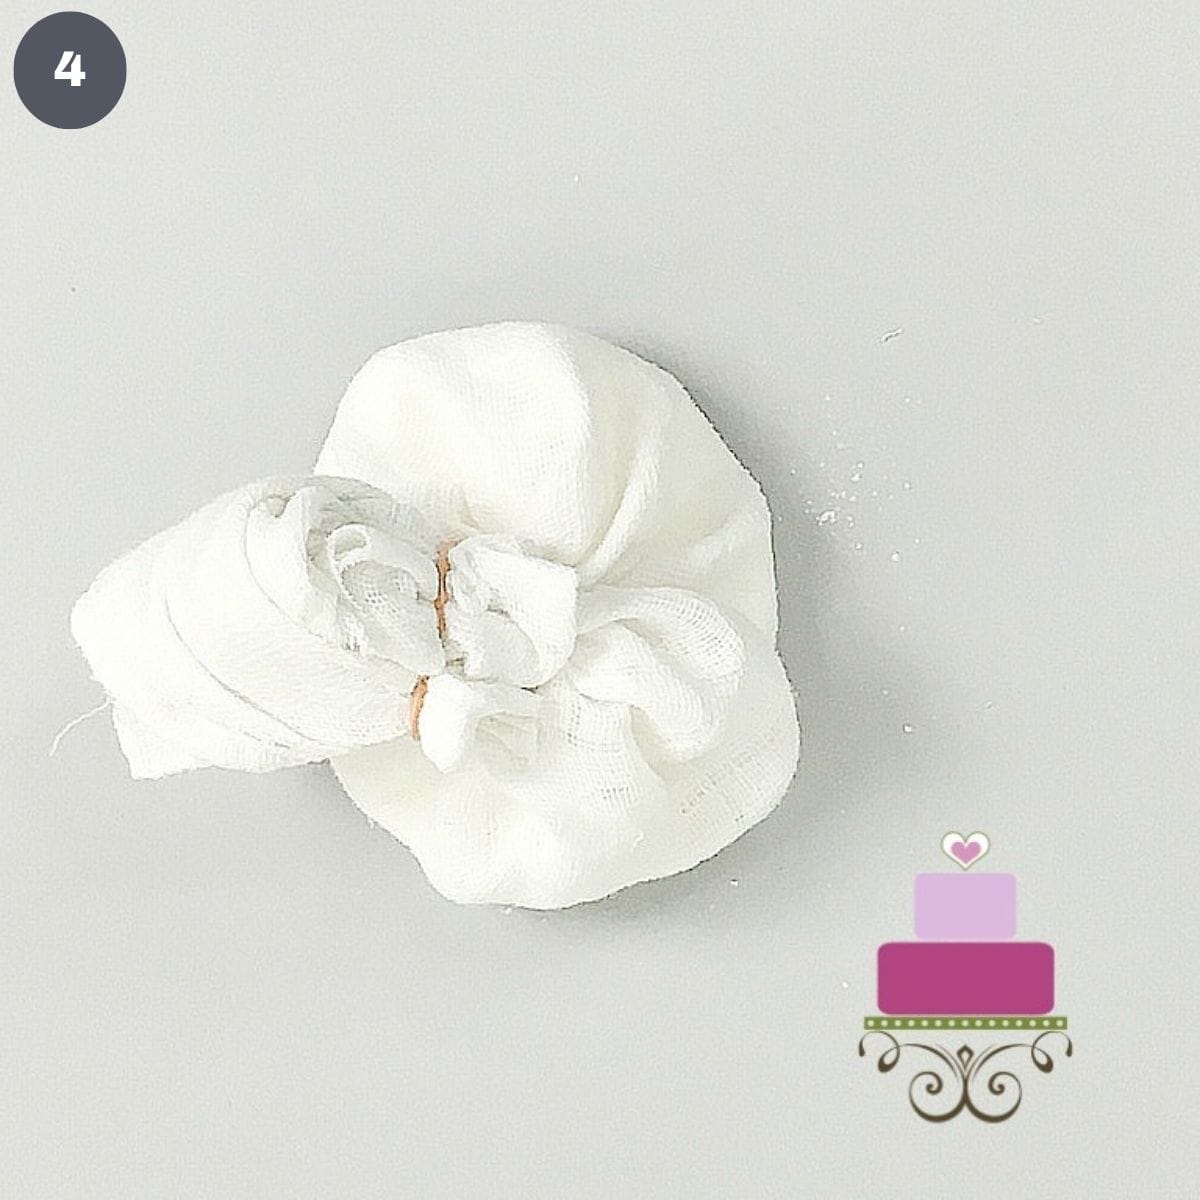
Hold the edges together and secure them in place by tying an elastic band around them tightly. Make sure there is no gap left out (image 4).
And that is pretty much the steps for making your own fondant dusting pouch.
How to Use the Pouch
To use the dusting pouch, simply tap it onto your work space and you will see a light dust of powdered sugar on your work space.
The good thing about this pouch is that you can store and use it for many fondant projects. There is no need to make a new one every time you work with fondant. When you feel like the powdered sugar is finishing, simply untie the elastic bands and refill the sugar.
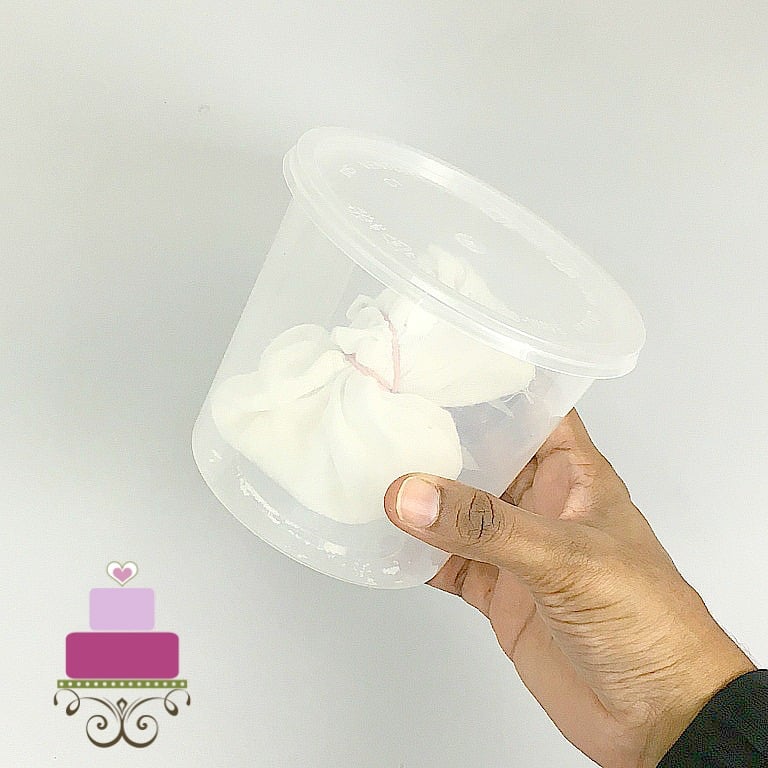
How to Store the Dusting Pouch
To store the fondant dusting pouch, just place it in a clean and dry container. That way, you can contain any sugar dust within the container.


Leave a Reply