

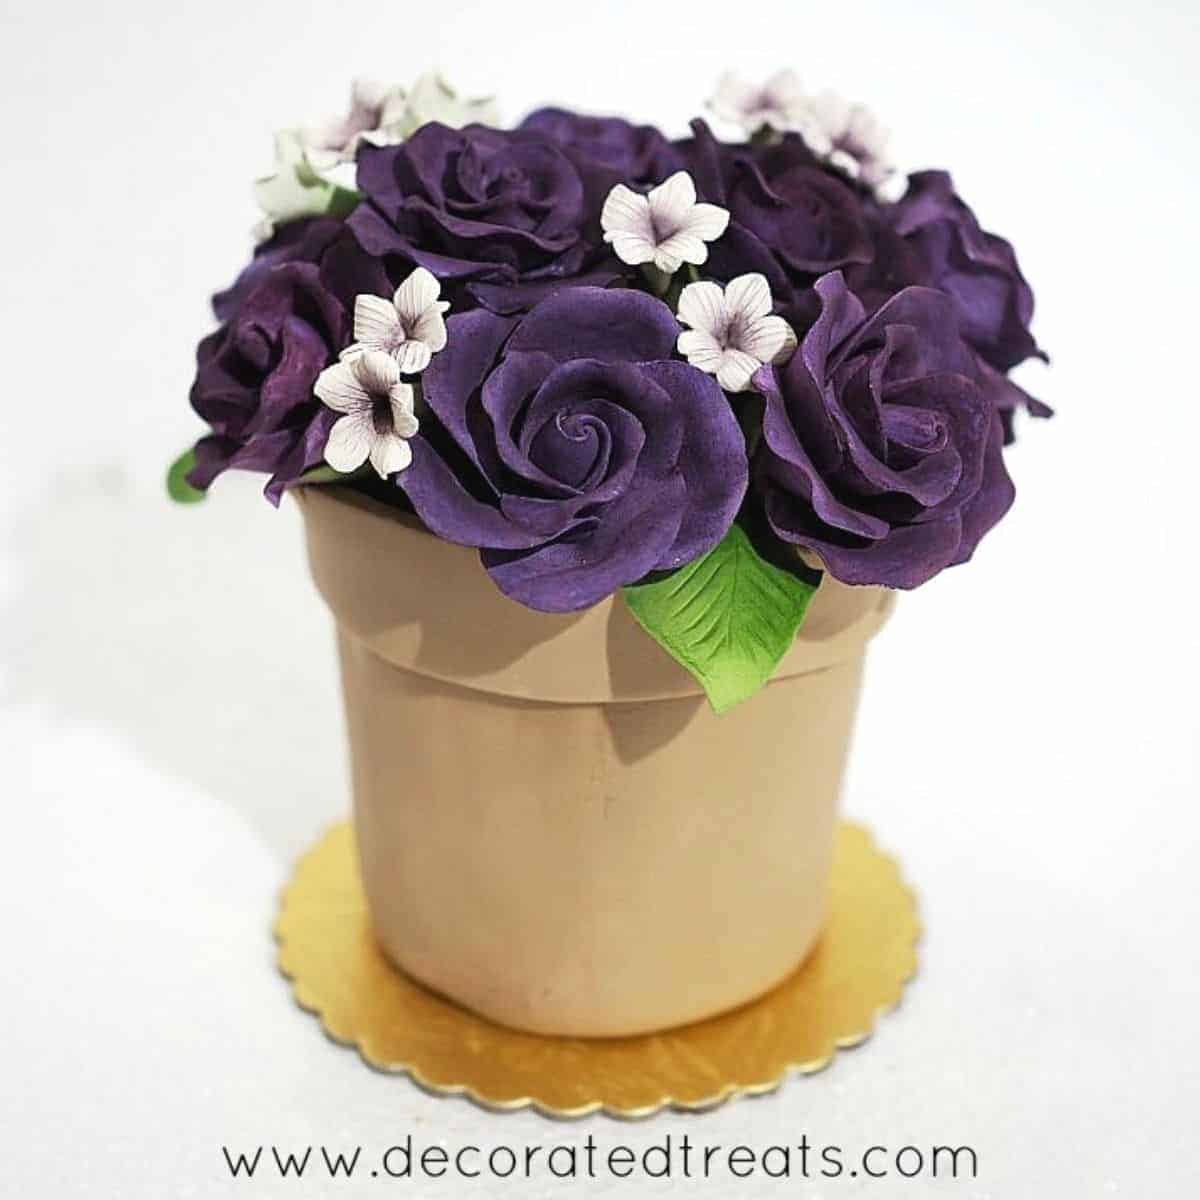
Learn how to make a flower pot cake with this easy tutorial. Covered in fondant and decorated with gum paste roses, this pretty cake is very easy to make and is perfect for birthdays and Mother's Day.
I call this a mini cake because the height of the flower pot was only three and half inches and the bottom diameter was only 3 inches. See how I made this cake in the sections below and you can always replicate the steps to make a large flower pot cake.
If you like this cake, you should also check out this easy buttercream flowers cake, 70th birthday cake with flowers, elegant cake with molded fondant roses, flower bouquet cake, Louis Vuitton designer handbag cake, mini heart shaped cakes and puppy dog cake.
🧾Supplies Required
- Cake - the flower pot was carved out of 2 layers of pound cake measuring 4 inches in diameter.
- Buttercream - I used vanilla buttercream to fill the cake as well as to crumb coat it.
- Fondant
- I used Satin Ice fondant and tinted it with a very small amount of brown and black gel paste colors.
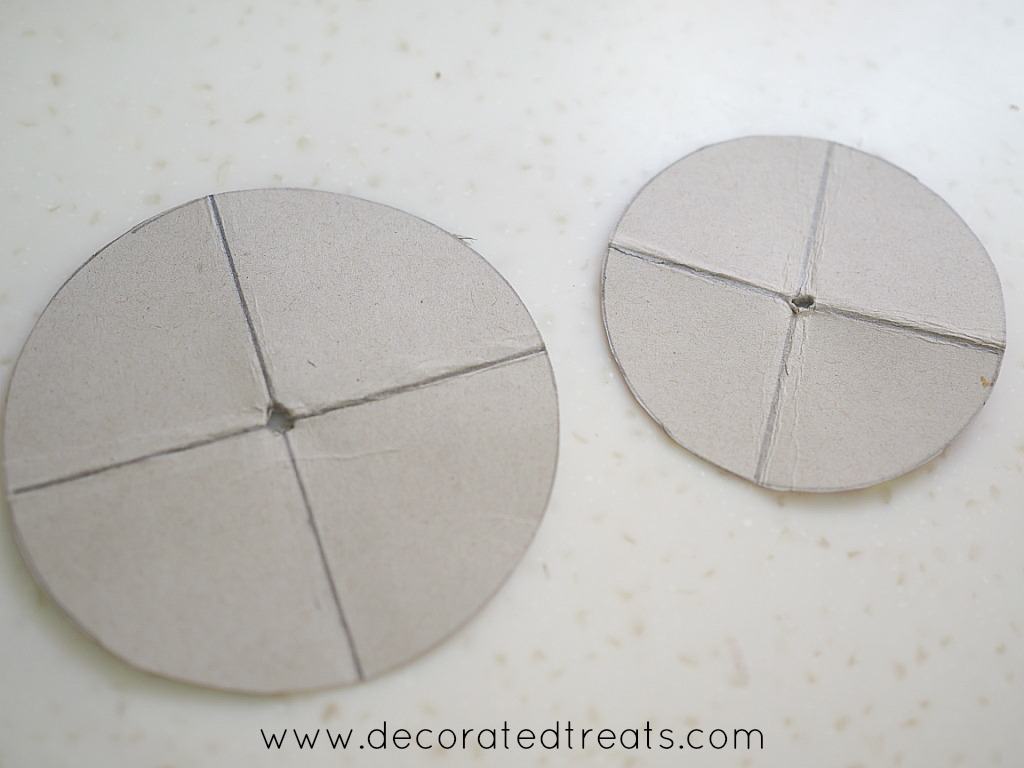
- Cardboard - I used cardboard to cut out 2 circles which I used as a guide to carve the flower pot.
- Chocolate sprinkles - I used chocolate sprinkles as the soil in the flower pot.
- Gum paste roses - I used store-bought roses for this project. The flowers were originally white, and I dusted them into dark purple roses. Click here to see how I dusted these flowers from plain white flowers to dark purple ones. You can also make your own gum paste roses.
- Lollipop sticks
👩🍳How to Make
Step 1: Prepare the Gum Paste Roses and Flower Pot Template
I prepared the flowers in advance. These were plain white roses and I dusted them into a deep purple shade with petal dust. Click here to learn how to dust the flowers.
I also prepared the cardboard templates in advance. I drew 2 circles, one in the same diameter as the cake, i.e., 4 inches and the other slighter smaller, i.e. 3 inches in diameter. I folded each circle into 4 and poked a hole right in the center.
Step 2: Bake and Carve the Cake
Next was the cake. I baked 2 cakes in 4 inch round pans. The cakes were about 1.75 inches high each. Once baked and cooled, I leveled the tops.
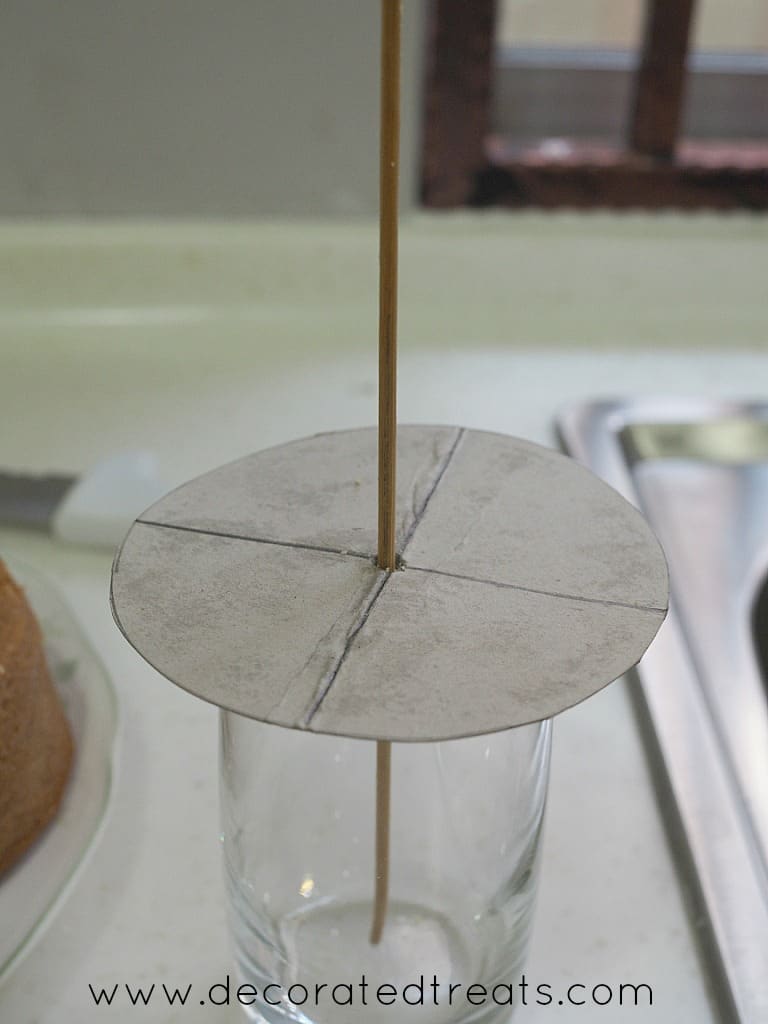
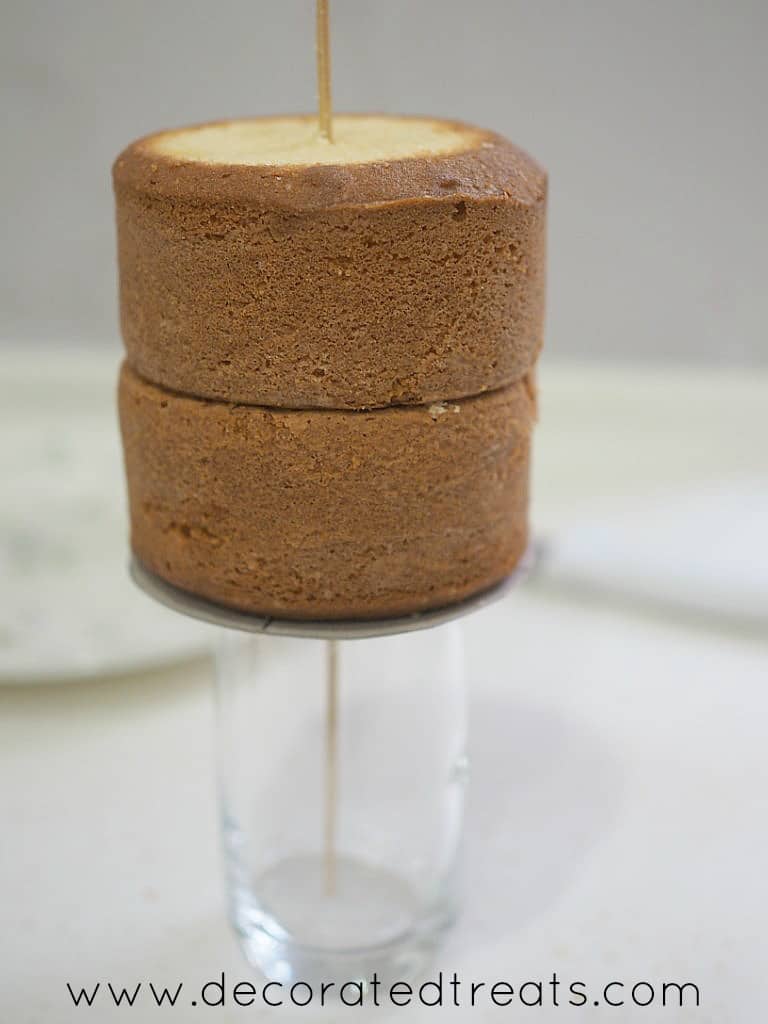
And then I carved the cakes to form the shape of a flower pot. To do that, I made a structure as in the image below. I placed the larger cardboard template on a drinking glass and inserted a wooden skewer in the center hole.
I then poked both my cakes through the skewer.
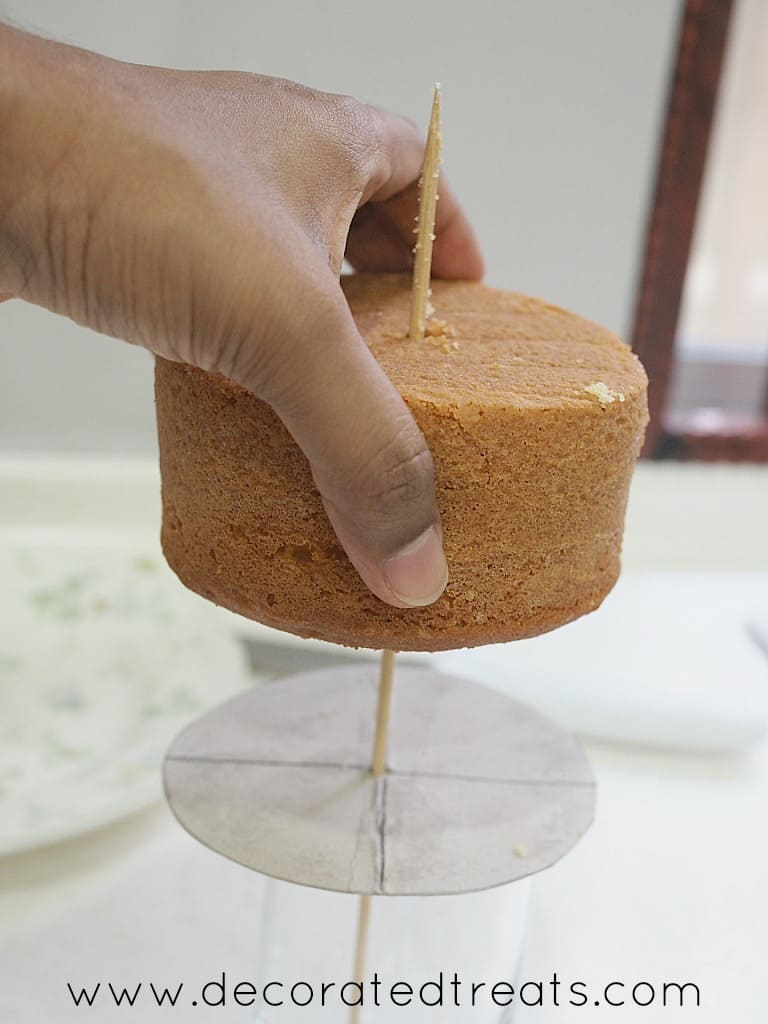
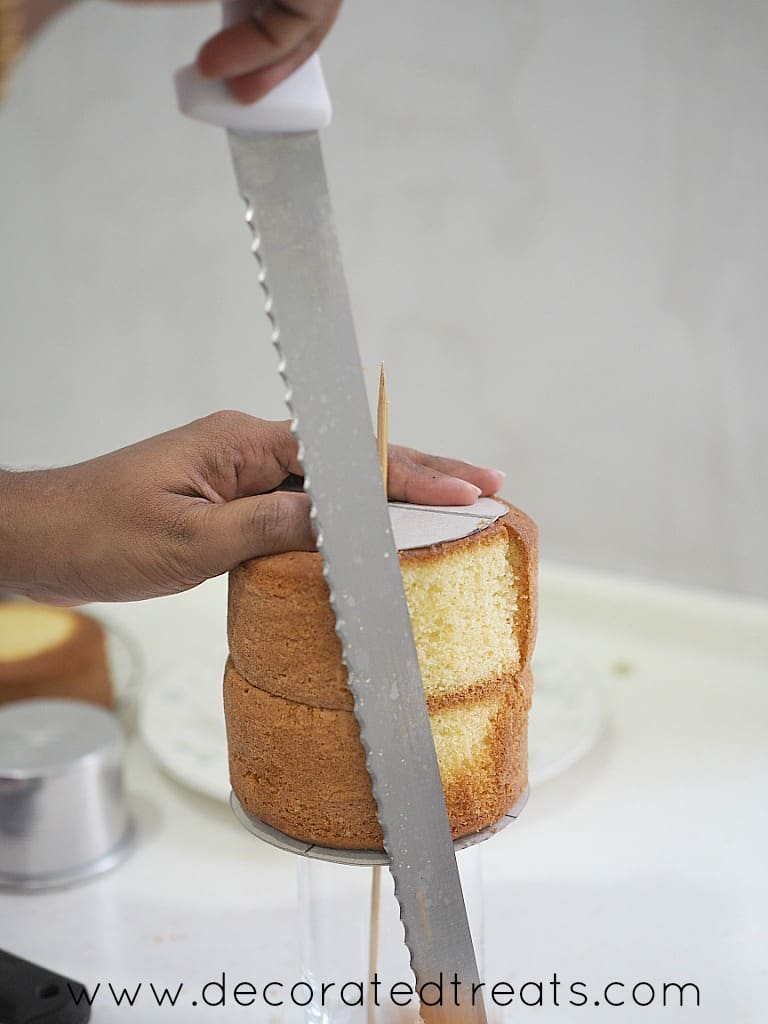
To carve the cake into a flower pot shape, I placed the smaller cardboard template on top of both the cake layers as shown. Using the cardboard templates as a guide, I carved the sides of the cake.
Step 3: Crumb Coat and Cover with Fondant
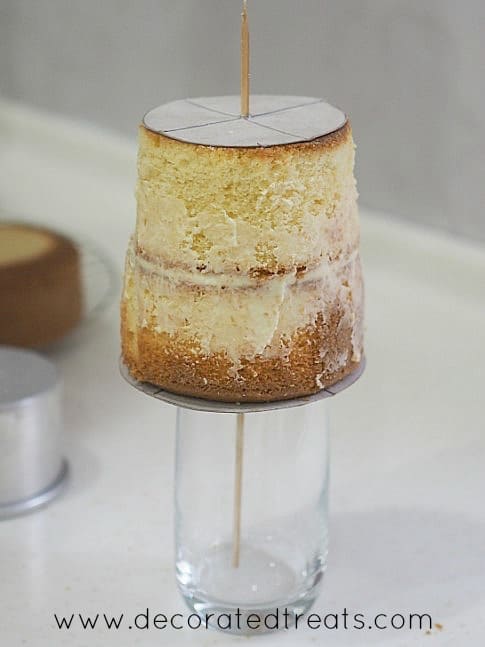
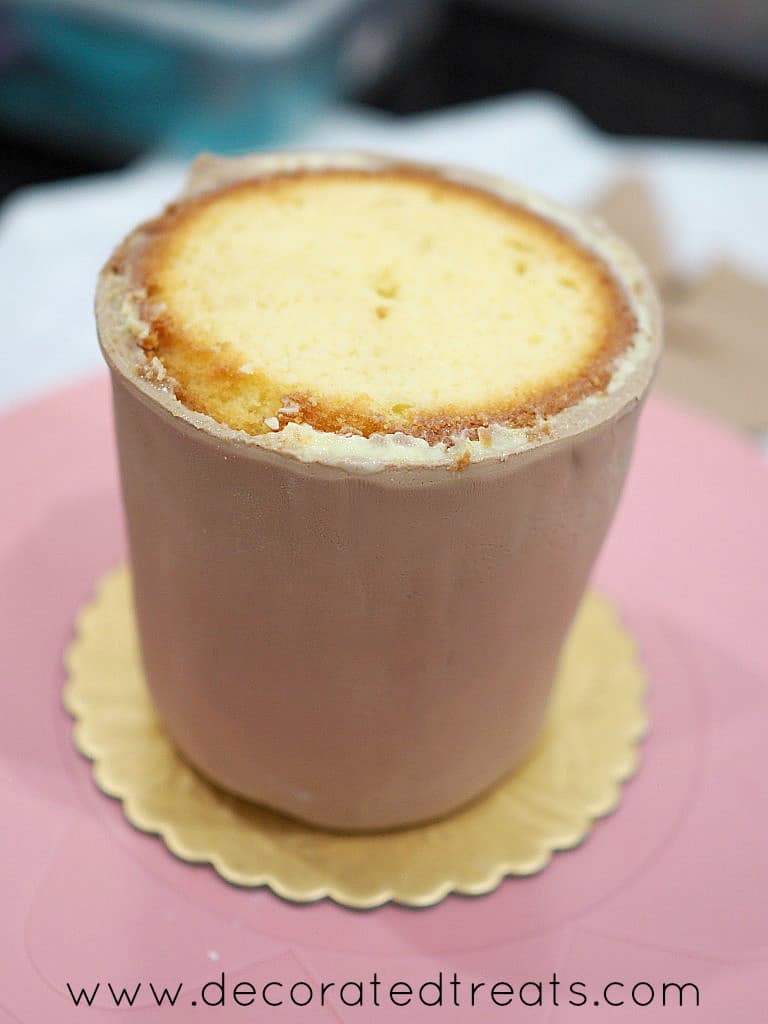
Once the carving was done, I lifted the top layer, spread some buttercream, and then put it back on the first cake layer. I smoothed excess buttercream as shown.
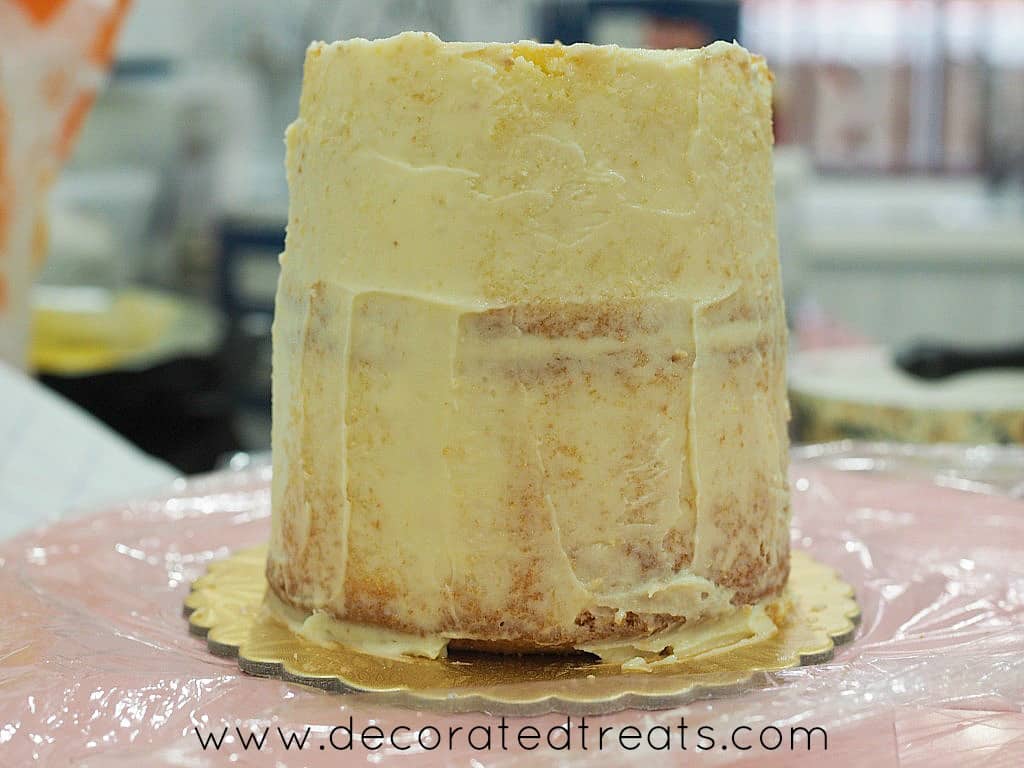
Next, I lifted the cake off the glass, removed the cardboard templates and the skewer. I placed in on a turntable and crumb coated the cake with buttercream.
After the crumb coat, I covered the cake with brown fondant. I trimmed off excess fondant and then turned the cake over.
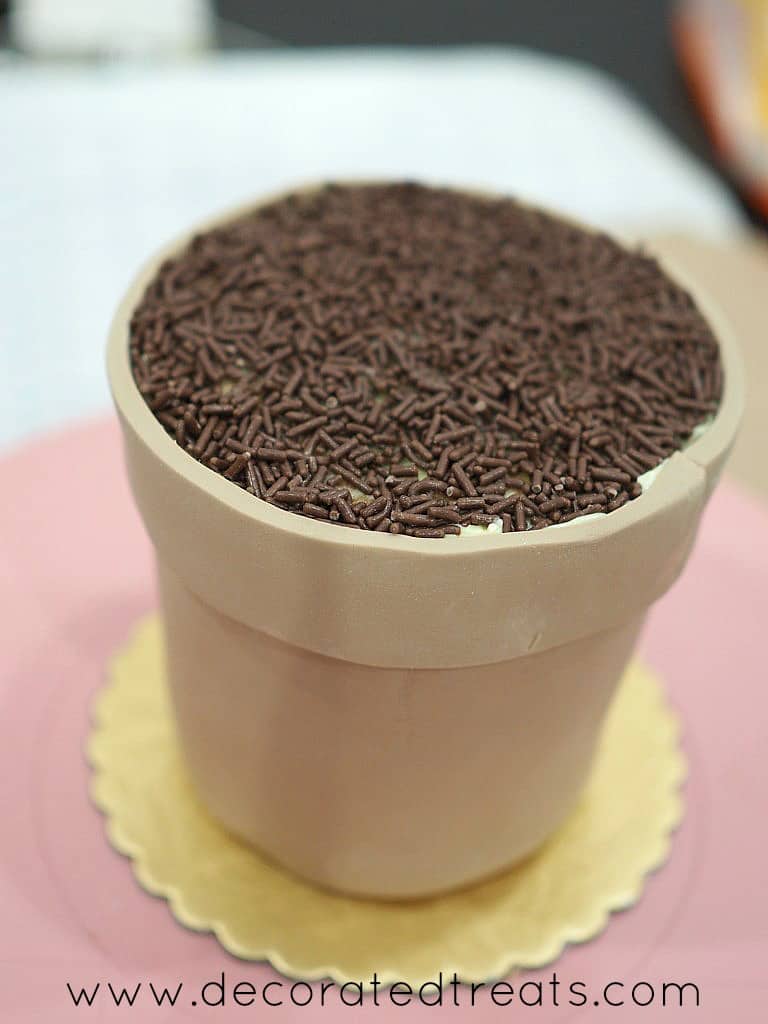
Step 4: Add the Chocolate Sprinkles
Next, I attached a strip of fondant all around the top with a damp brush. Following that, I filled the top generously with chocolate sprinkles.
Step 5: Attach the Flowers
Once the flower pot was done, I moved on to the flowers. Since the flowers were wired, I did not want the wire to go directly into the cake. To ensure that, I used lollipop sticks.
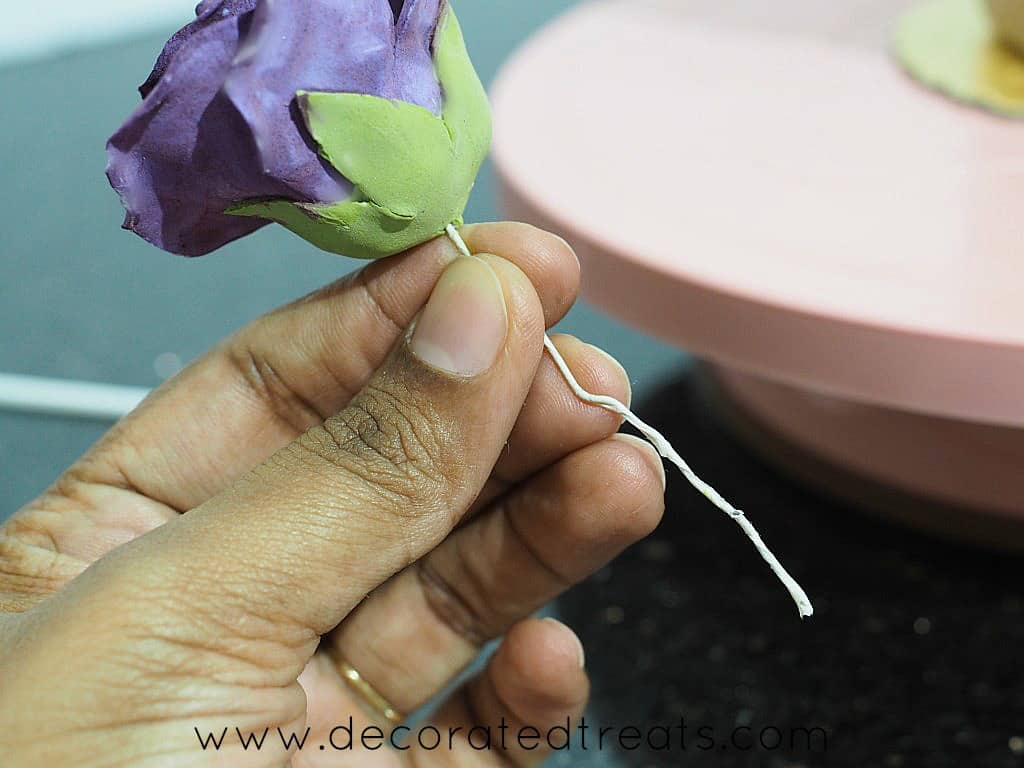
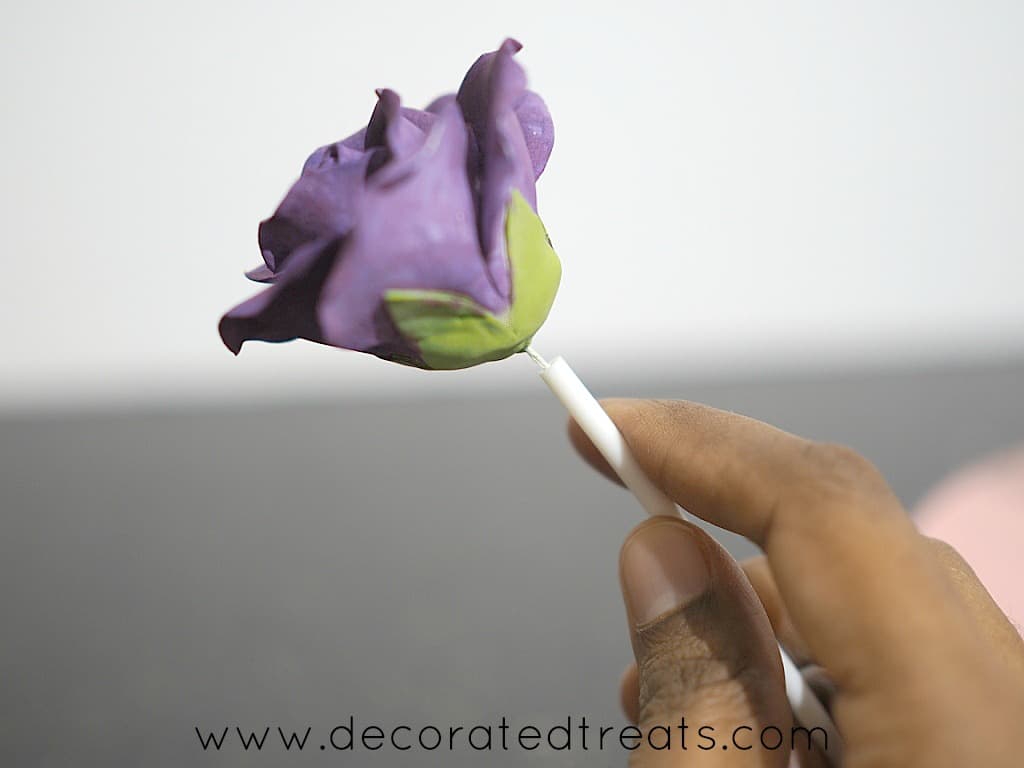
I inserted the wire of each wired flower into one lollipop stick. Only then did I poke the flowers into the cake. This way, there was no direct contact of the wires with the cake.

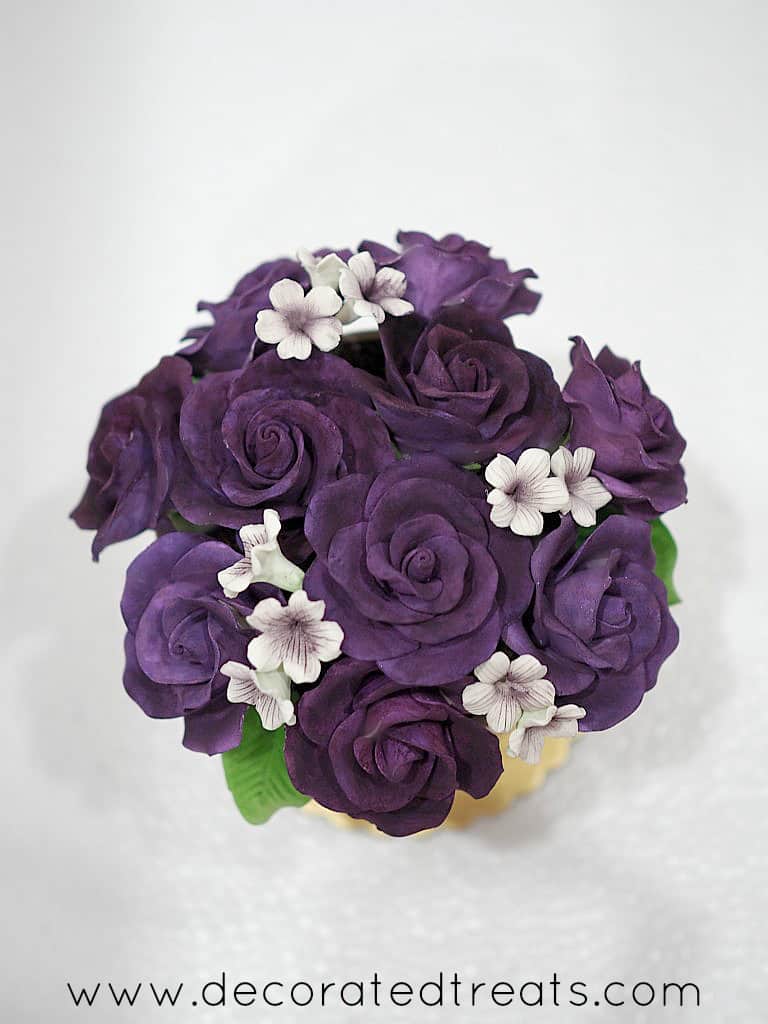
I arranged the roses in a circular pattern on the outside and then filled the center of the pot with 3 roses. That filled most of the flower pot, leaving only tiny spaces in between the roses.
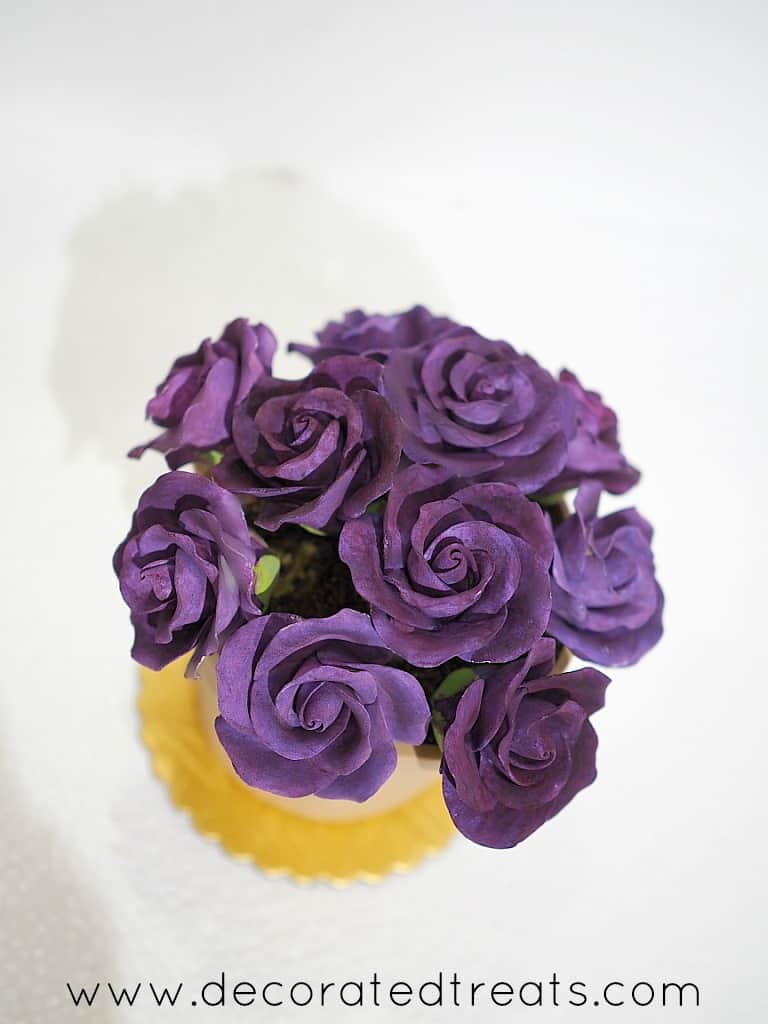
I filled those spaces with filler flowers. And I also added some leaves in random order among the flowers.
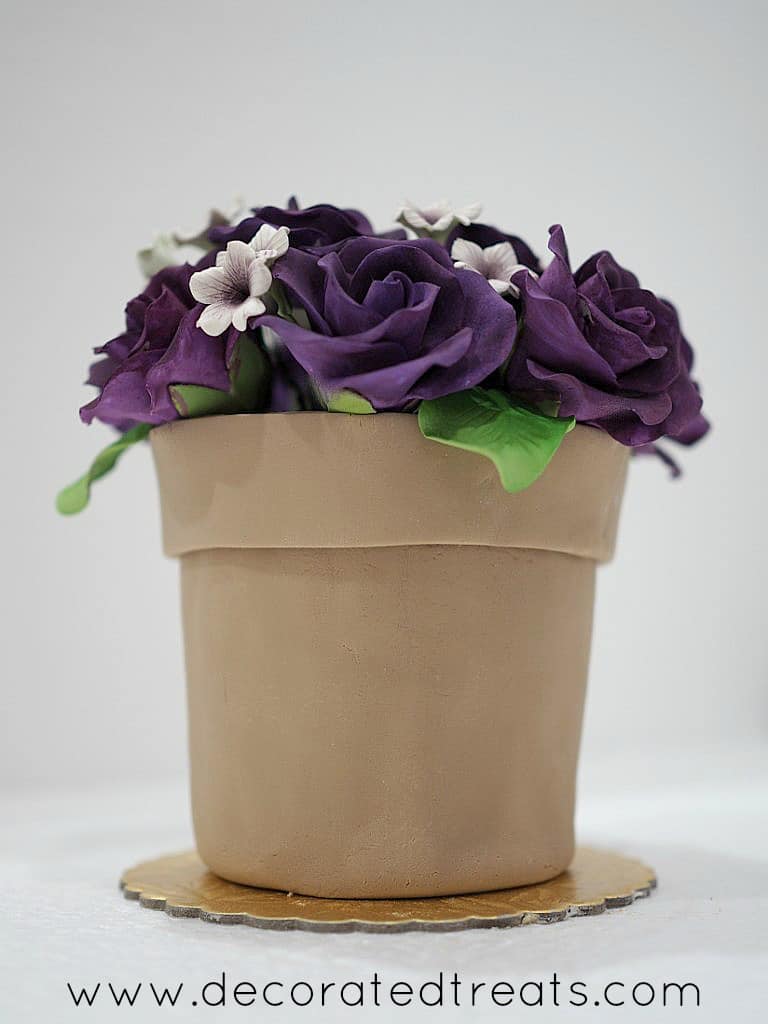
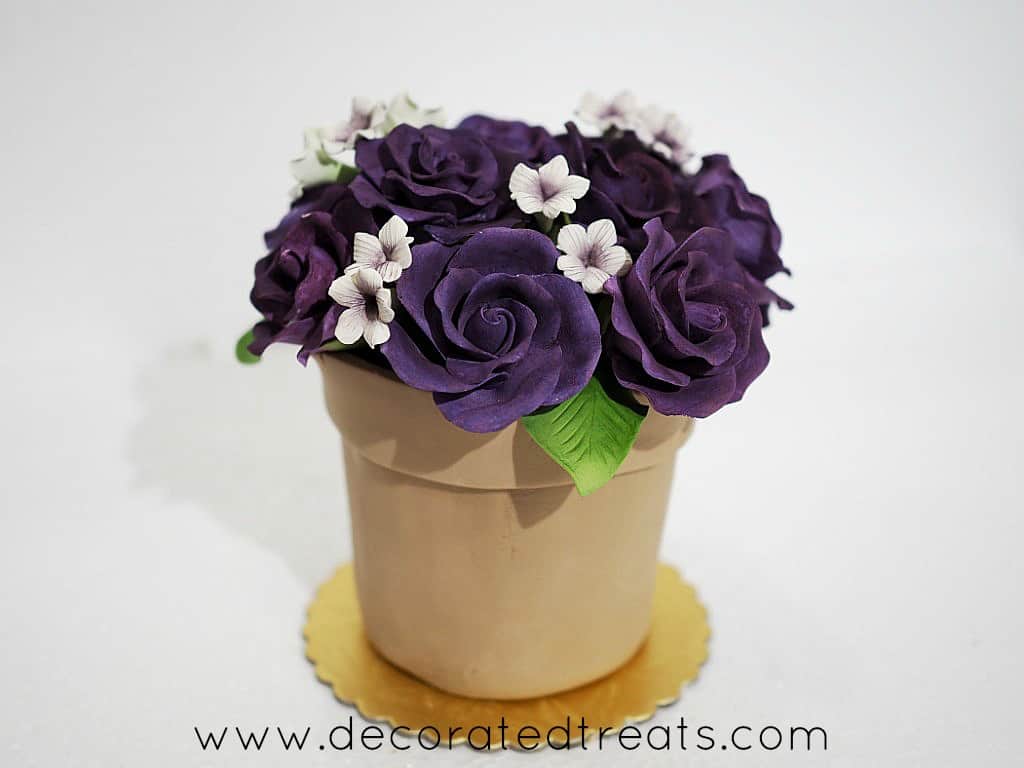
And this was how my mini flower pot cake looked like upon completion.


Leave a Reply